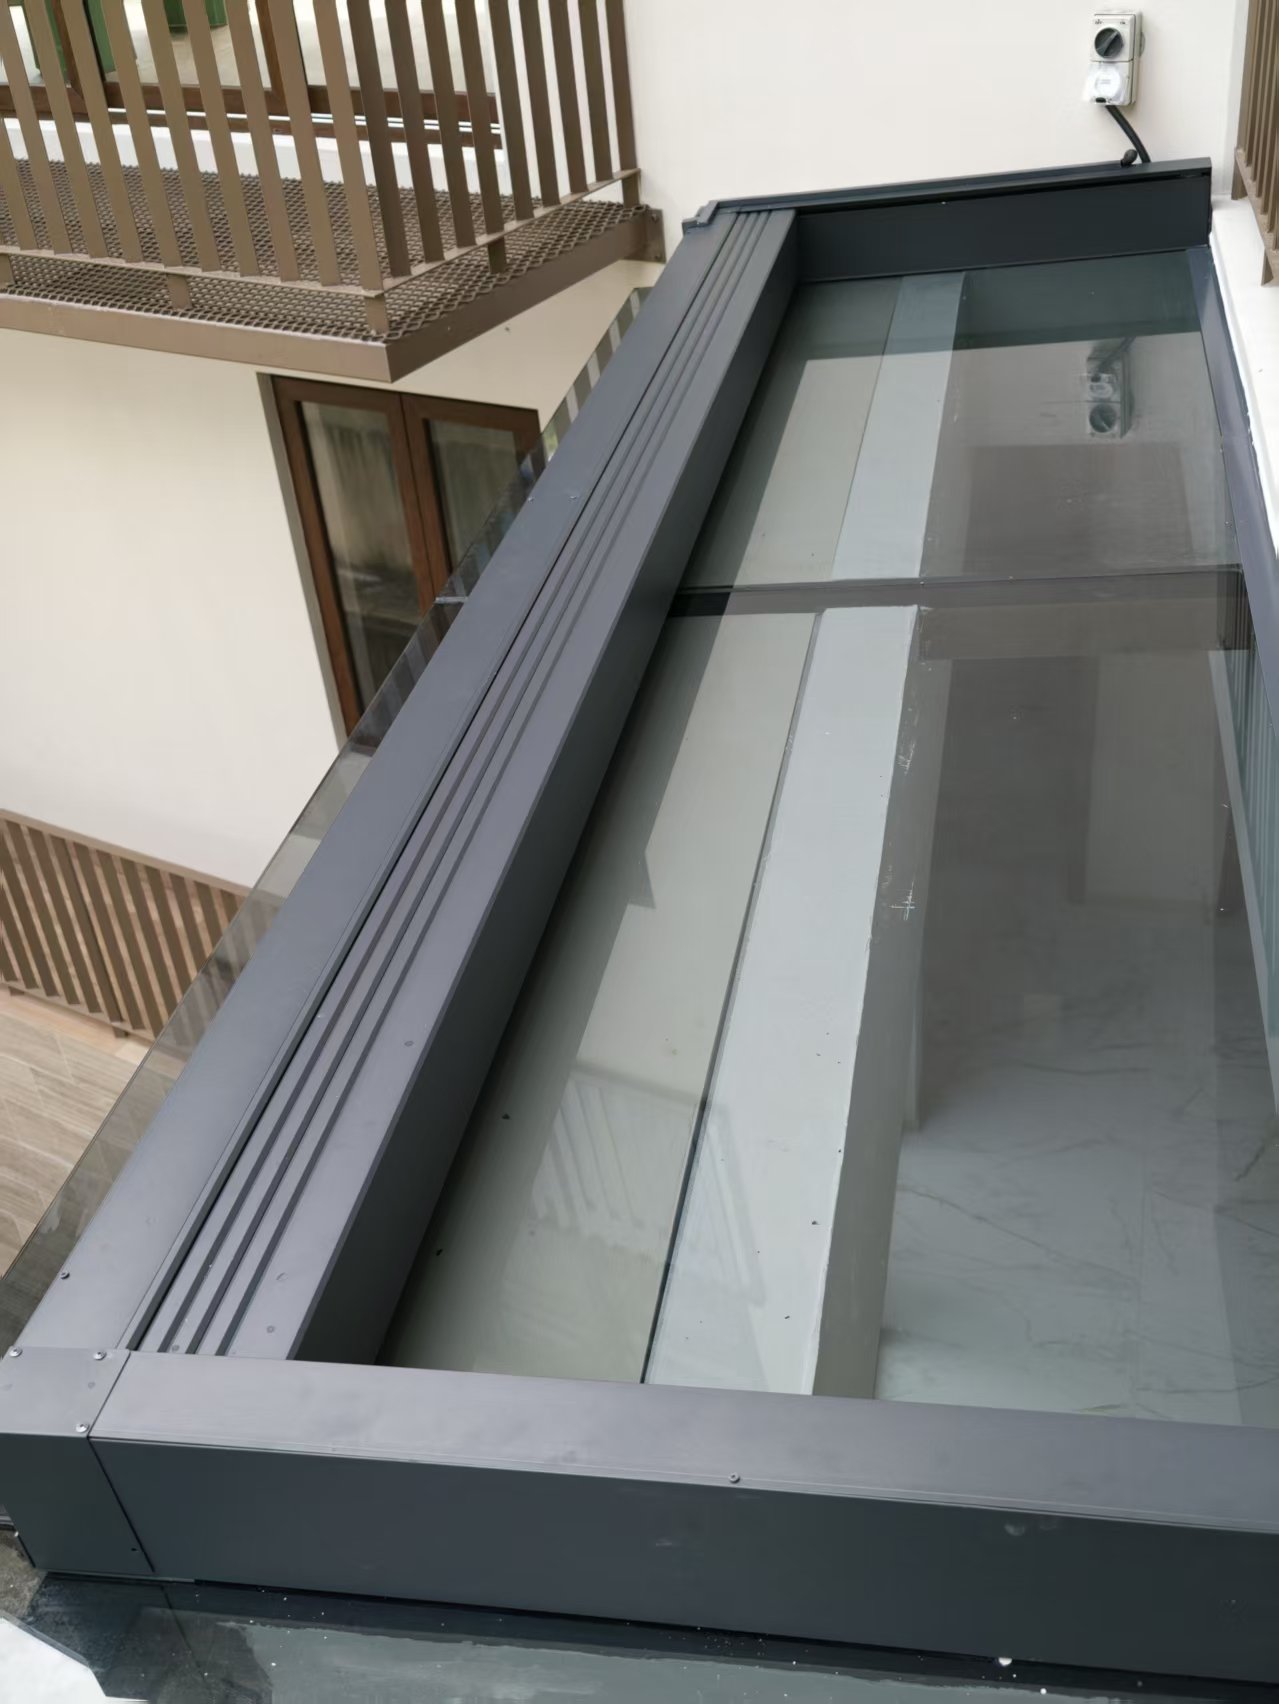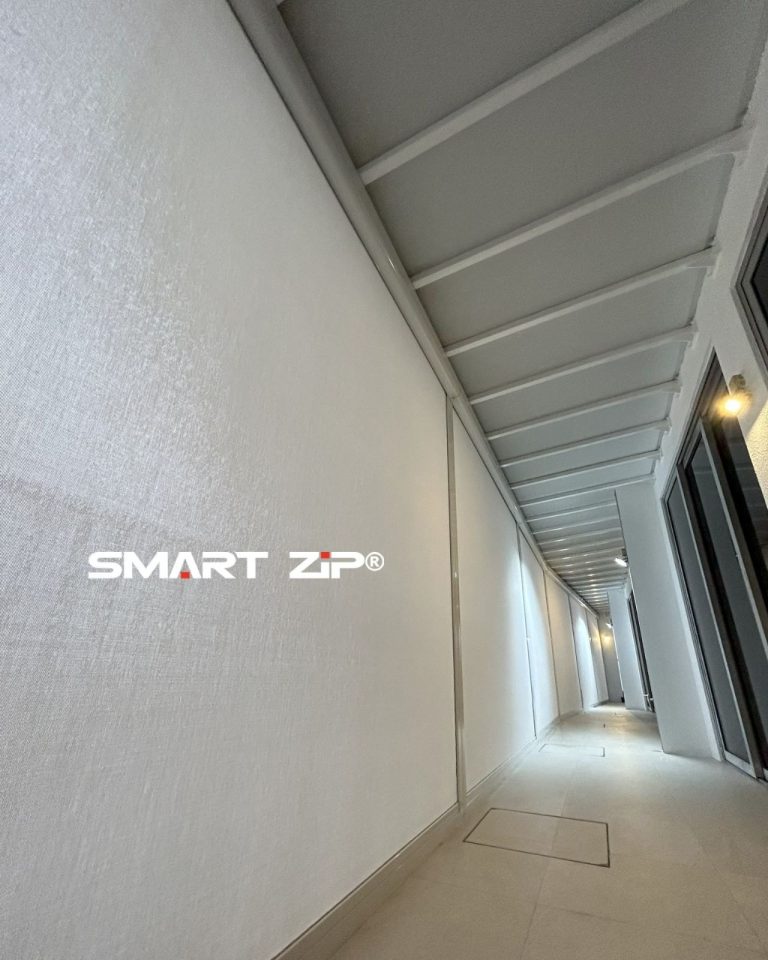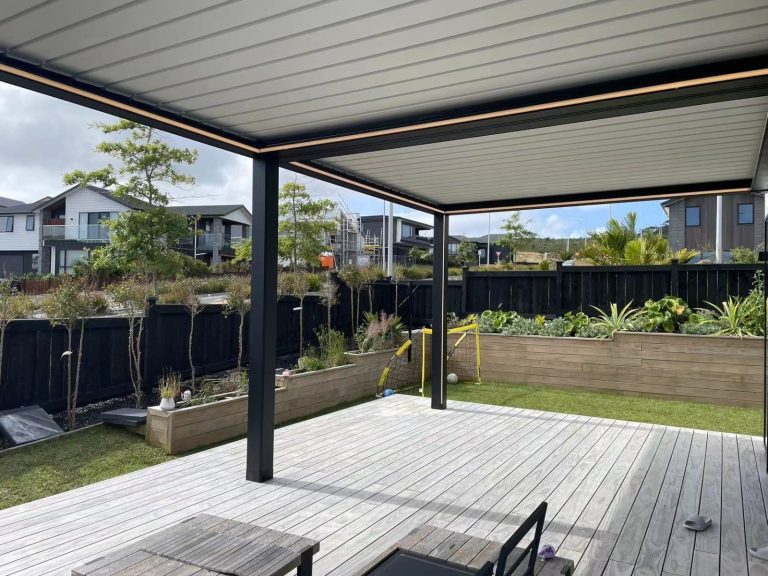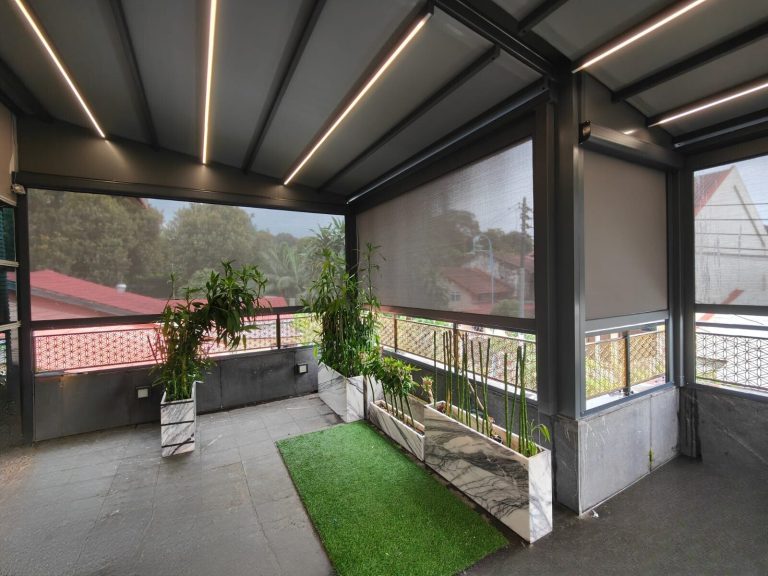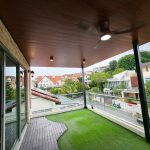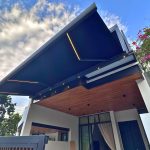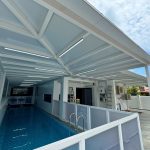


Pergola installation Singapore projects succeed when design, structure, drainage and electrical planning are resolved before materials arrive on site. A pergola is not simply outdoor furniture; it is a permanent or motorised roofing system connected to a building and exposed to tropical weather.
This step-by-step guide explains what homeowners should expect from the first survey to final handover. Understanding the sequence makes quotations easier to compare and reduces changes during installation.
Step 1: Define what the pergola must achieve
Begin with function. Is the space intended for dining, parking, poolside seating or all-weather access? Decide whether the roof should remain fixed, use rotating louvers or retract completely. The answer affects structure, drainage, controls and cost.
Review the main outdoor roofing options before the survey. A bioclimatic pergola provides adjustable aluminium louvers, a retractable pergola opens the roof, and trellis roofing offers permanent protection with different panel materials.
Step 2: Complete a detailed site survey
The survey should record more than length and width. Installers need floor levels, wall condition, available fixing points, drainage positions, electrical access, nearby windows and doors, site access and the direction of common rain exposure. Photos and sketches help the design team understand constraints that may not be obvious from a simple plan.
Post positions should be marked against real circulation. A support that looks acceptable on a drawing may block a driveway, sliding panel or preferred furniture arrangement. The survey is also the right time to discuss finish colours, lighting and control locations.
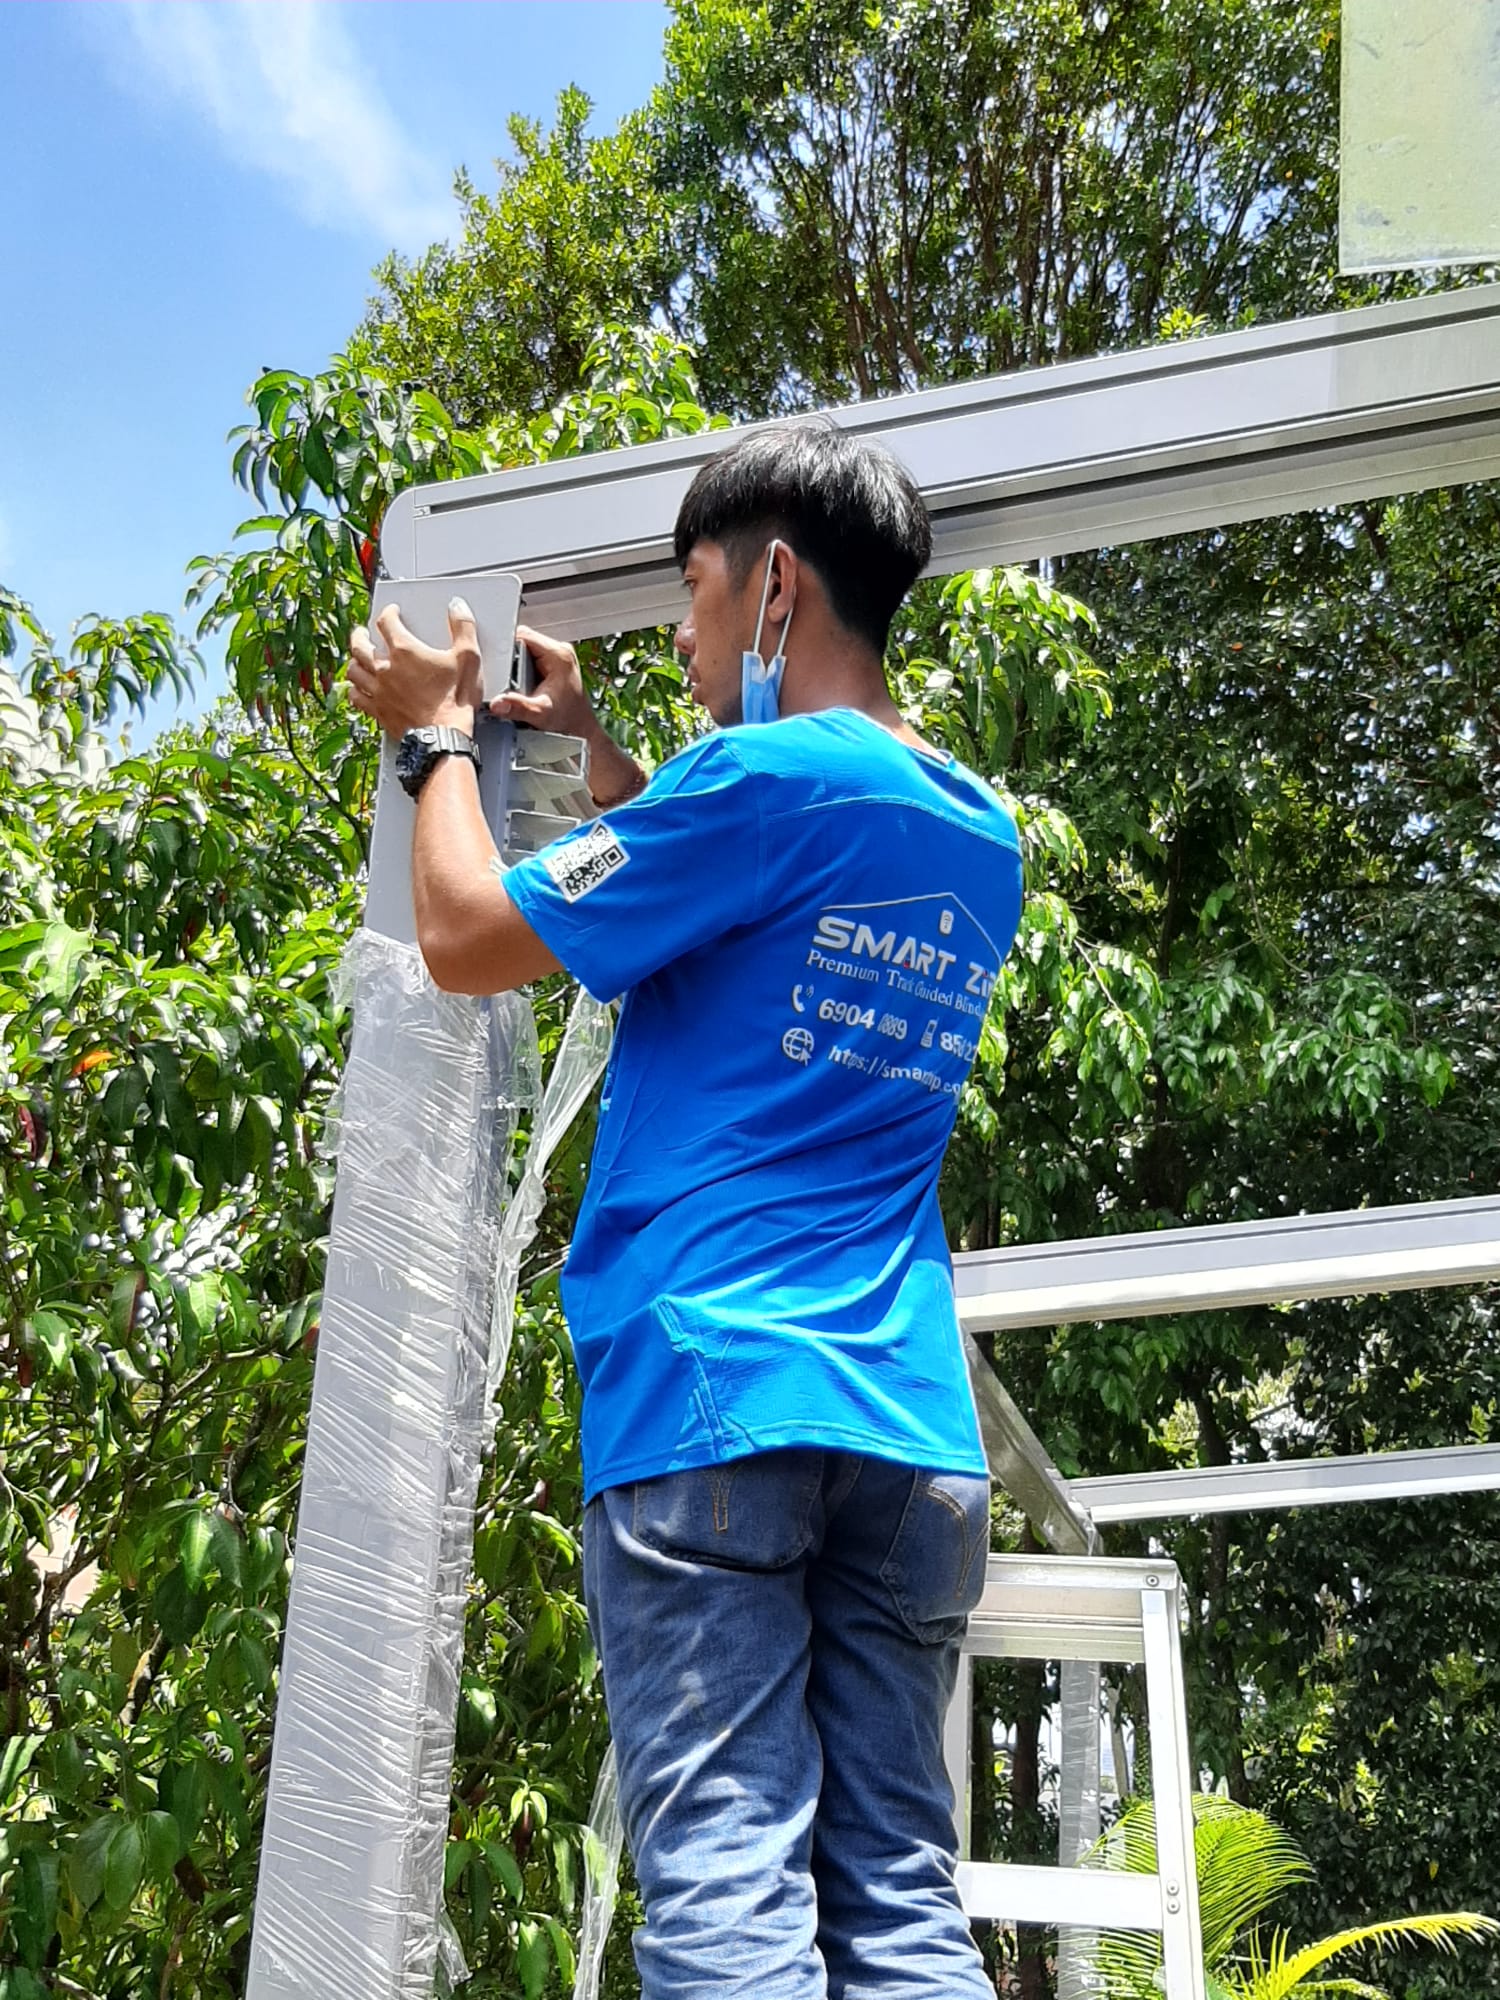
Step 3: Confirm structure, approvals and drainage
The supporting structure must suit the pergola span, roof mechanism and site exposure. Existing walls cannot automatically be assumed to carry new loads. The installer should identify how the frame will be anchored and whether engineering review is required.
For condominiums, managed properties or projects that affect the external appearance, obtain the relevant management approval before work begins. Requirements vary, so owners should not rely on assumptions from another development. Drainage must also be planned early, including gutter routes, discharge points and how water will be kept away from entrances.
Access planning is another important survey outcome. Long beams, roof panels and lifting equipment must reach the work area without damaging finished interiors. For rooftop or rear-yard projects, the delivery route may influence component size and installation schedule. The contractor should also identify where drilling, cutting and temporary storage will occur, then agree on dust, noise and housekeeping measures with the owner.
Step 4: Approve drawings and product specifications
Before fabrication, check the final dimensions, post layout, roof direction, opening mechanism, colours, lighting and control method. The document should show how the pergola connects to the building and where water leaves the system.
Product specifications should state the frame and roof materials, motor brand or performance requirements, fabric type where applicable, finish and accessories. If a retractable system is selected, see the Smart Shades retractable pergola details for an example of motorised controls, exterior fabric and integrated lighting.
- Approve dimensions and structural layout.
- Confirm roof opening direction and control positions.
- Record drainage and electrical scope.
- Confirm site access, working hours and protection measures.
- Clarify warranty, exclusions and expected fabrication time.
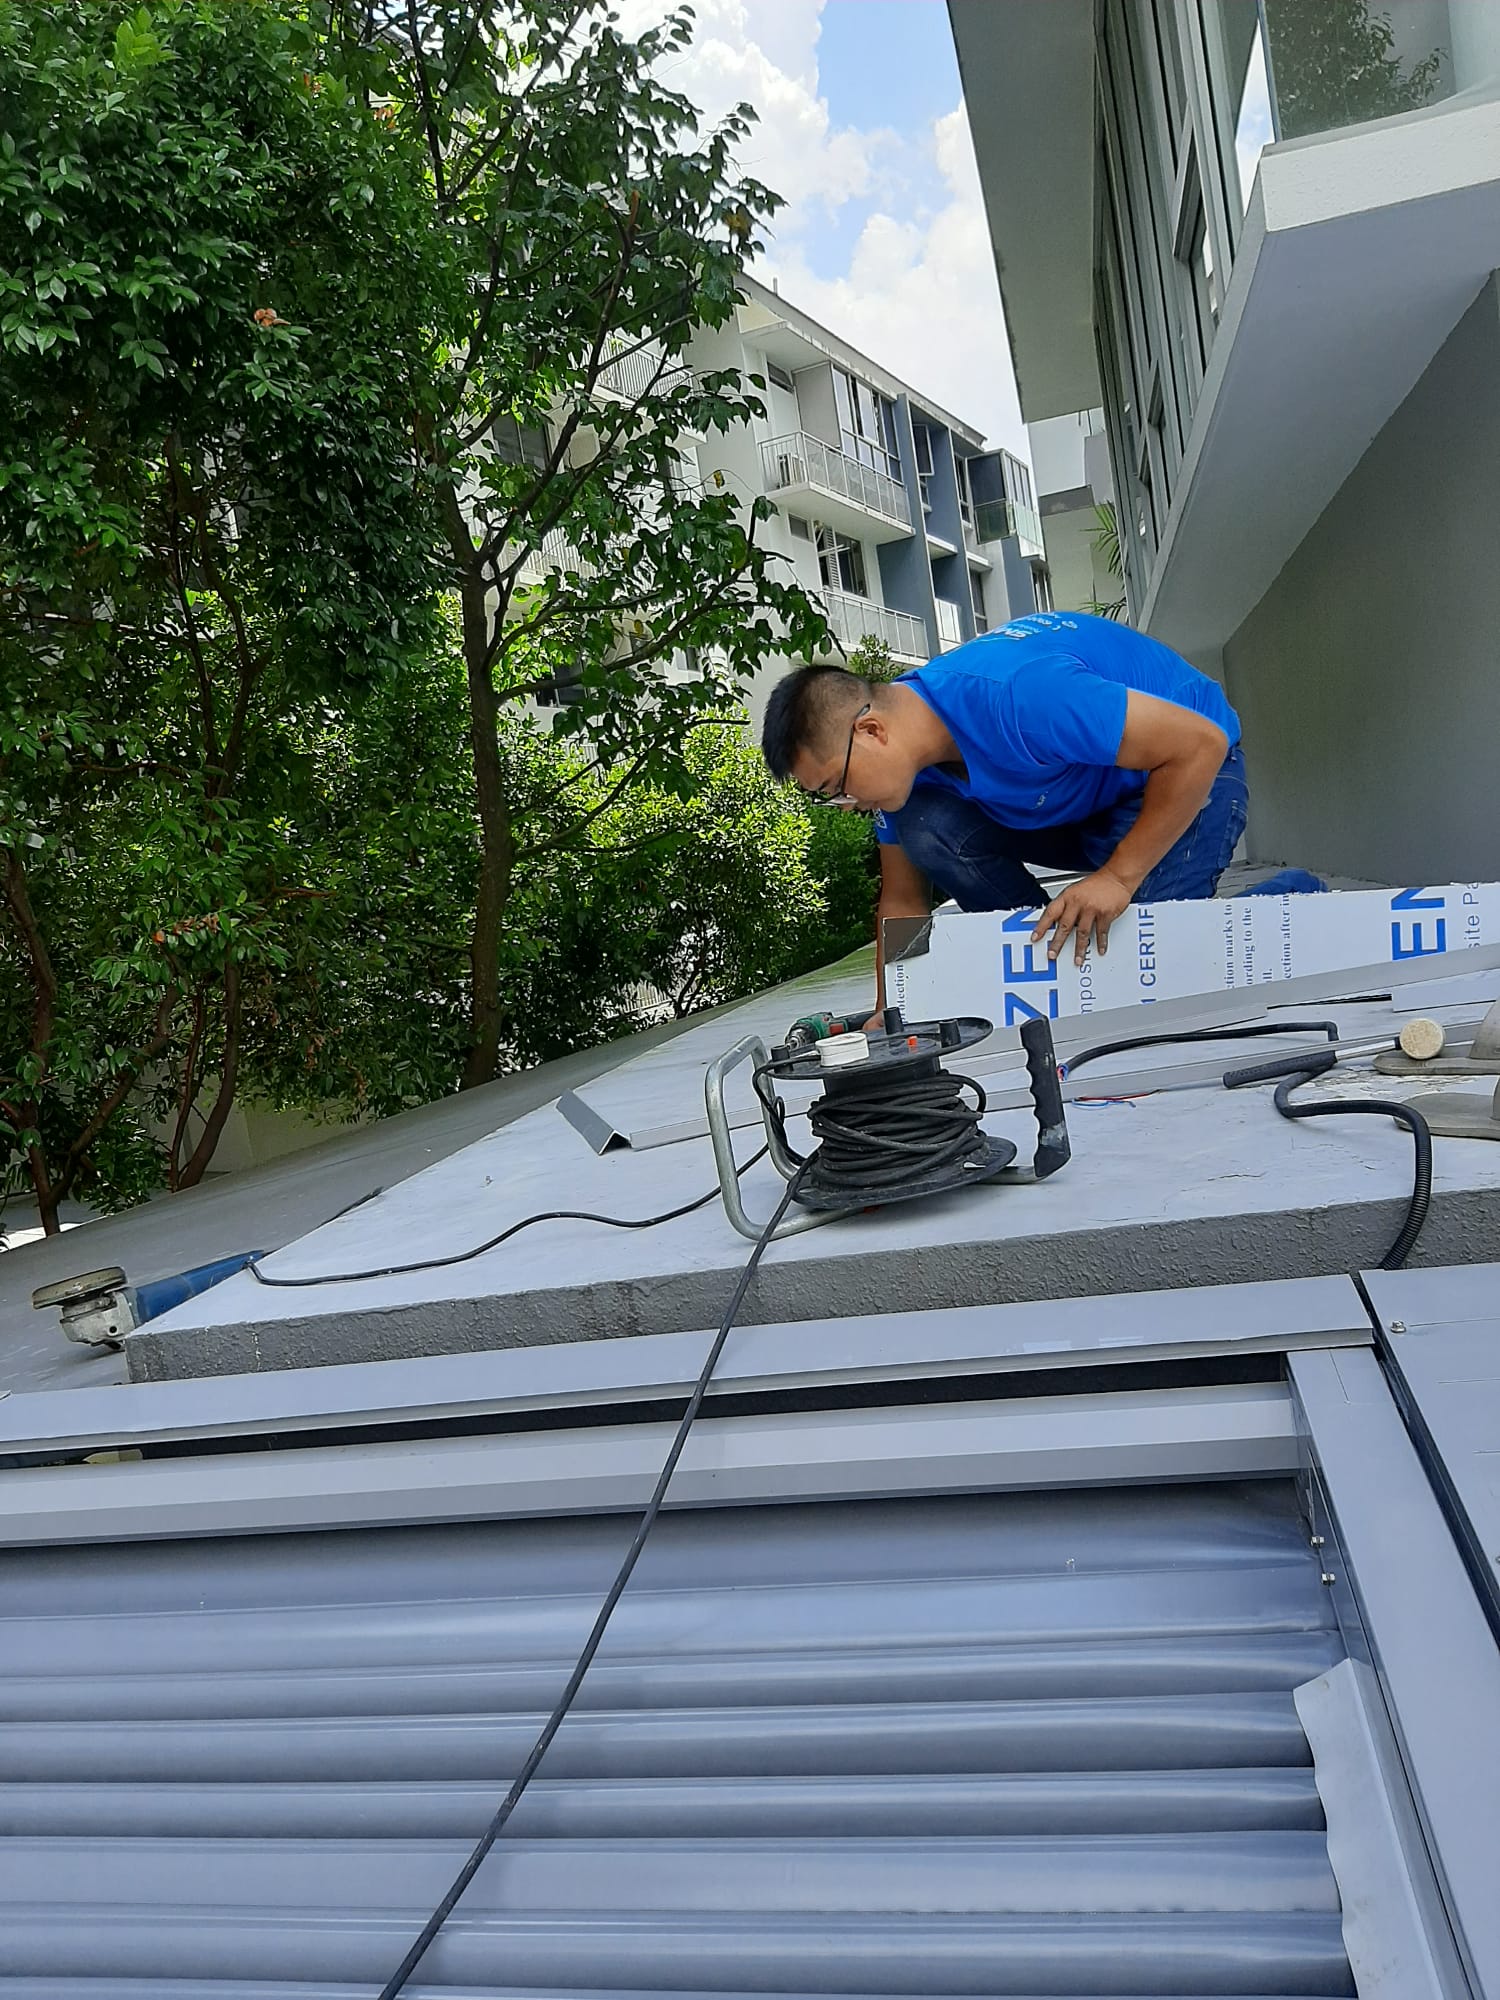
Step 5: Prepare the site and install the frame
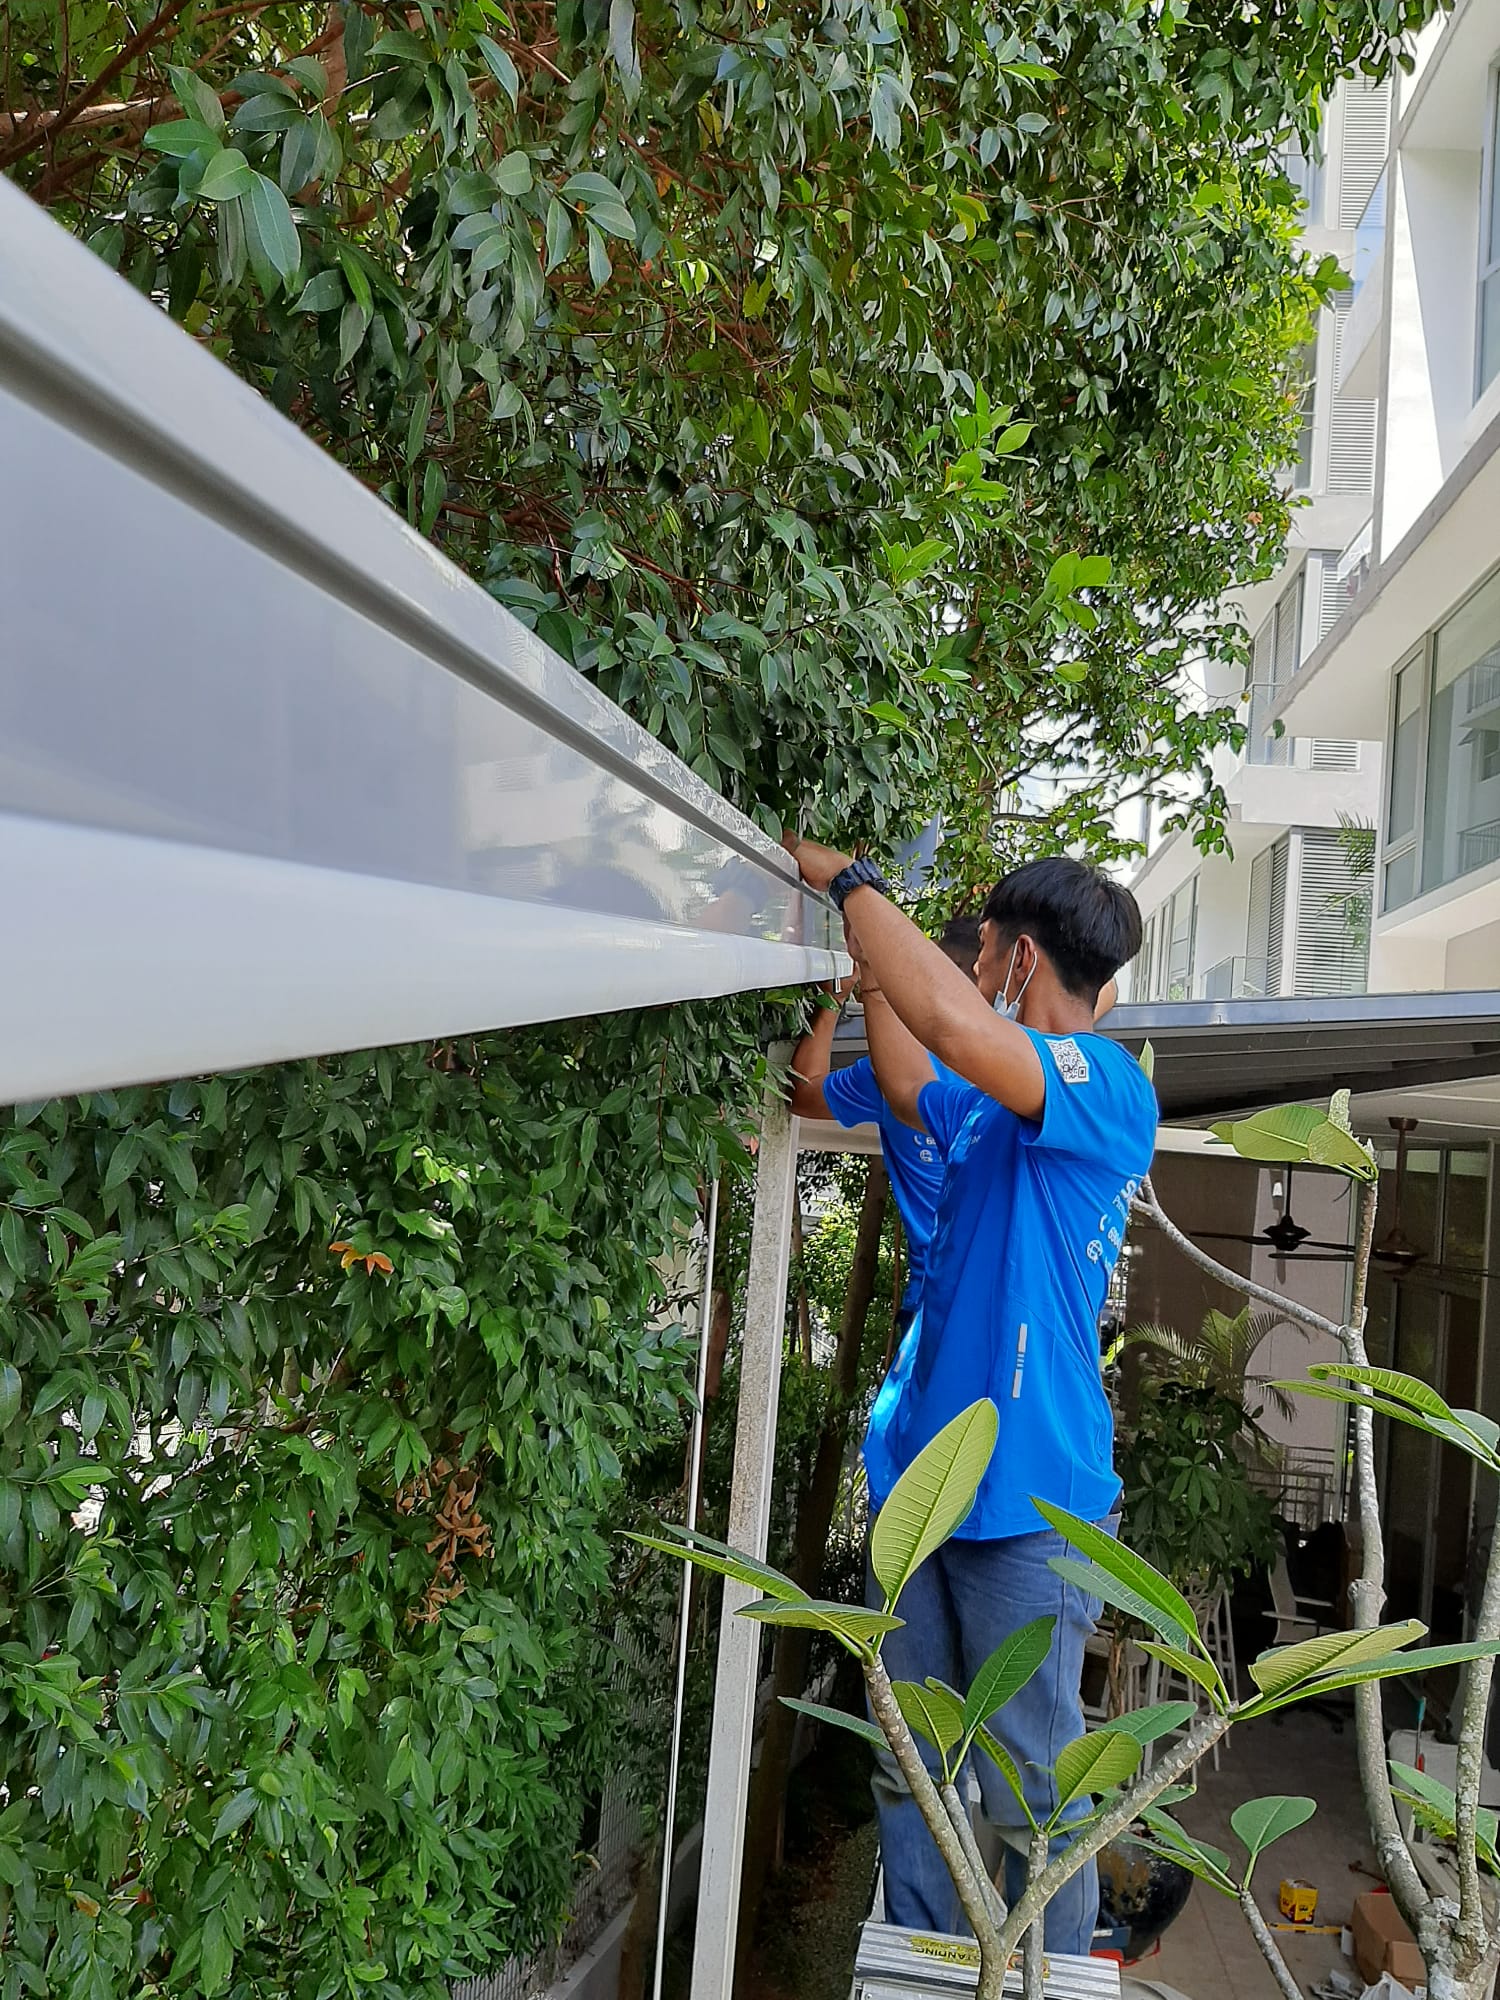
On installation day, the team should protect nearby flooring, walls and landscaping. Materials must be staged without blocking shared access. The frame is positioned, checked for alignment and securely fixed according to the approved design.
Good installation is methodical. Posts and beams should not be forced to compensate for inaccurate measurements. Any unexpected site condition should be discussed before the work continues. This is especially important for concealed services, weak substrates or drainage conflicts.
Step 6: Fit the roof, motor, drainage and lighting
Once the frame is stable, the roof components are installed. Louvered systems require blades, drive components and perimeter channels to align precisely. Retractable systems require fabric tension, guides and motor limits to be set correctly. Fixed roofing needs properly sealed joints and suitable panel support.
Electrical connections should be completed safely, with cables routed neatly and control boxes accessible. Gutters and downpipes must connect to the planned discharge route. The installation should retain a clean appearance without sacrificing service access.
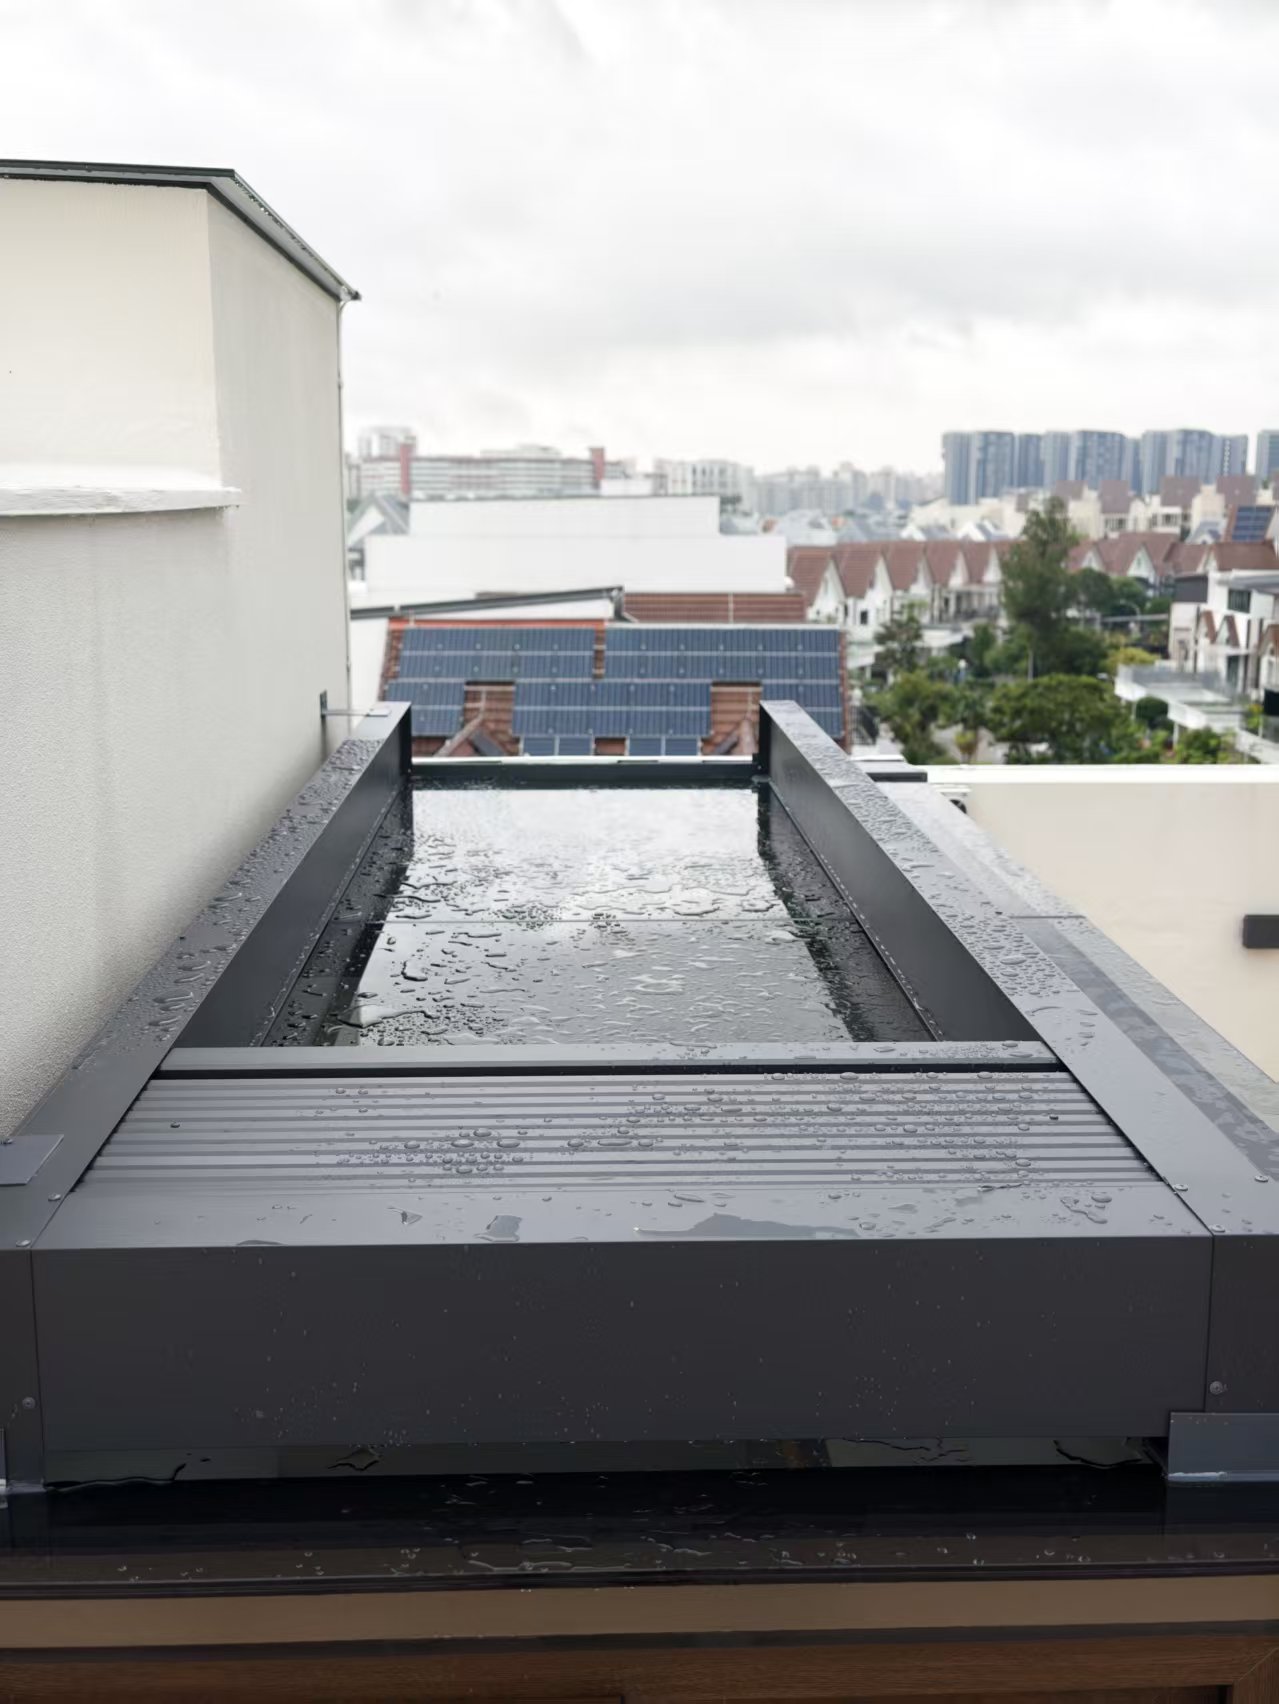
Step 7: Test every operating and weather-control feature
Handover should include repeated opening and closing, remote or switch operation, motor limits, lighting, drainage and a visual inspection of fixings and seals. The owner should receive operating instructions and know when not to use the roof in severe weather.
Ask how to clean the roof, clear drainage channels and arrange future servicing. Photographing the finished installation and key control locations creates a useful maintenance record.
Choose an installer who explains the process clearly
A professional proposal should make the sequence understandable and disclose important assumptions. Be cautious when a quotation focuses only on area and price without describing drainage, fixing, electrical work or after-sales support.
Careful planning protects both the appearance and performance of the completed pergola. To arrange a site assessment, use the Smart Shades appointment form and provide photos of the intended area.