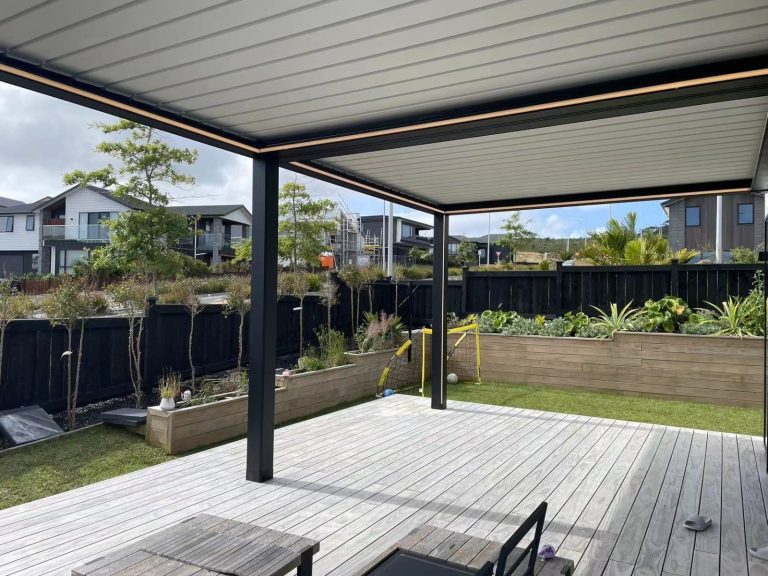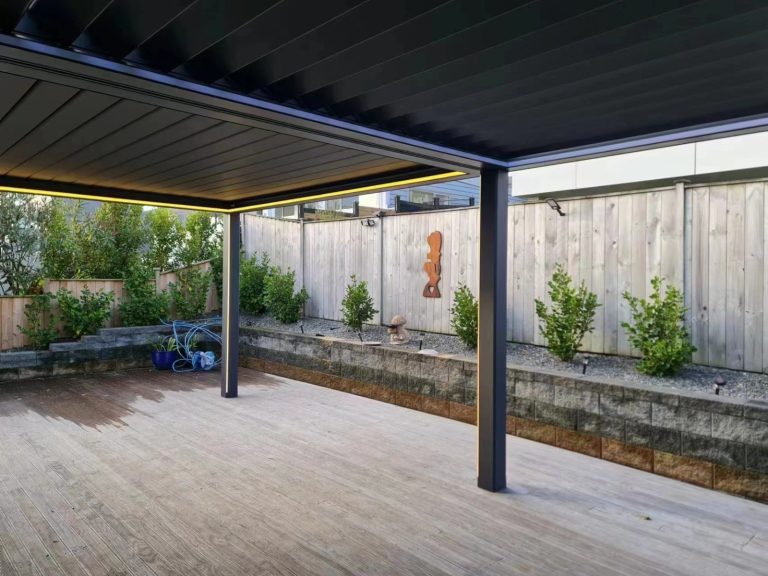


Planning a pergola Singapore homeowners can use comfortably involves more than choosing a roof style. The property layout, existing facade and access route all influence what can be installed. A clear project brief helps the site survey focus on these details from the beginning.
Rather than starting with a favourite photograph alone, collect information about the location and your routine. This guide explains what to prepare and how to use it when reviewing drawings, installation scope and the finished outdoor space.
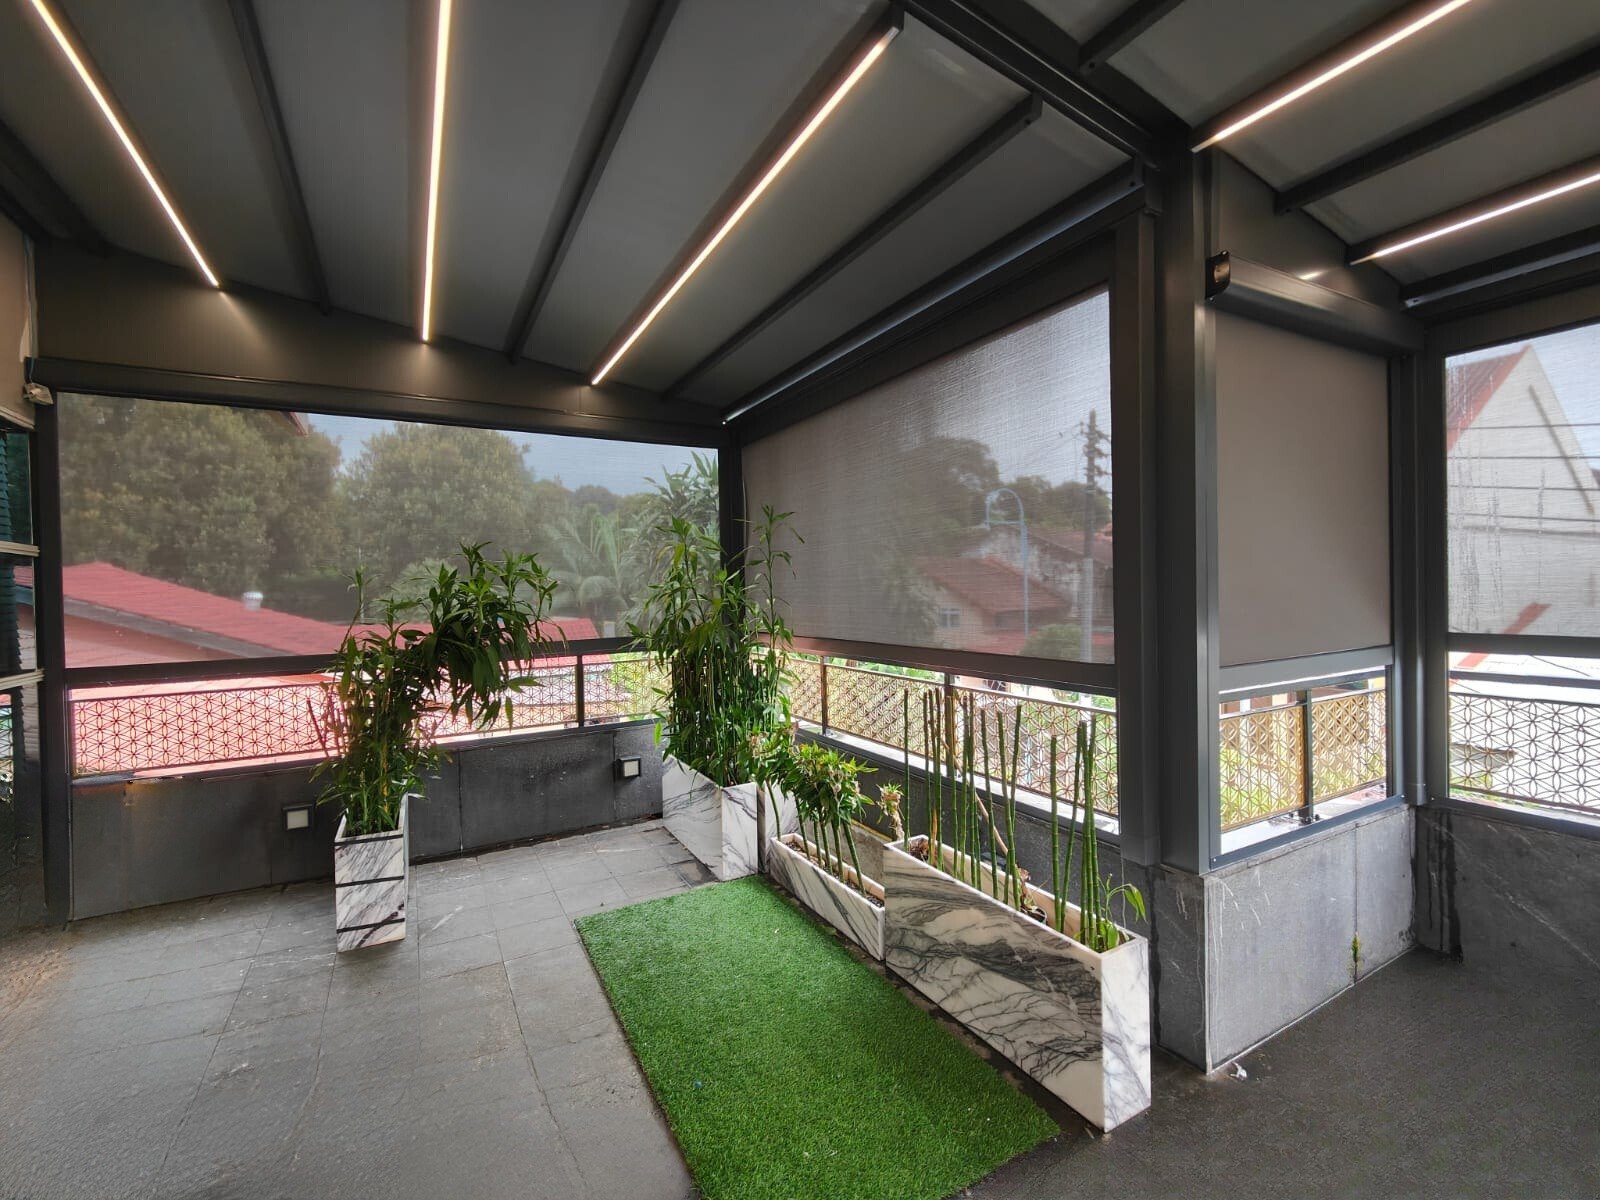
Pergola Singapore planning begins with the site
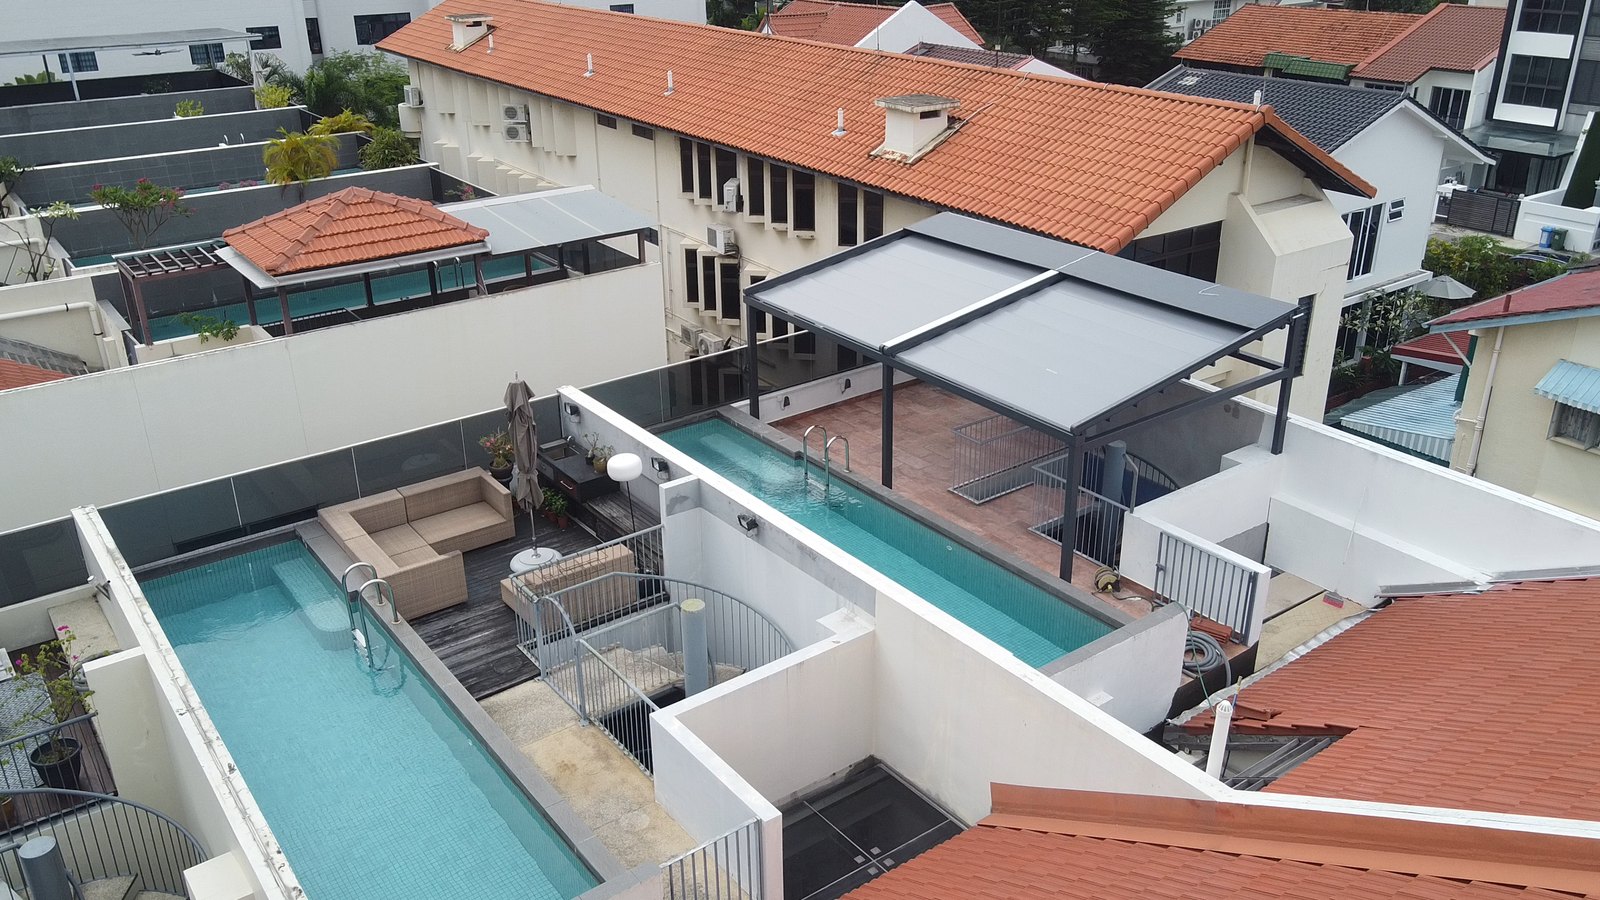
Photograph the area from the house, the garden and both sides. Include the existing roofline, walls, doors and drains. If a balcony or upper terrace is involved, also show the access route available for materials and equipment.
Mark where the pergola is intended to start and finish, but treat these as preliminary boundaries. Final dimensions should follow the site assessment and any necessary design checks. Existing walls and floors may not be as level or square as they appear in photographs.
Record the activities that matter
Decide whether the space will hold a dining table, lounge seating, exercise equipment or a circulation route. Measure the activity area with furniture in use, including chairs pulled out. This gives the designer a useful footprint rather than a simple empty rectangle.
Map supports around movement
Posts affect how people move and what they see. Ask for support positions to be shown alongside door swings, steps and furniture. If an unobstructed opening is important, explain why and let the proposed structure be assessed accordingly.
Avoid choosing a span from a general advertisement without checking the installation conditions. The actual arrangement depends on the selected system and site. A drawing should make clear where loads are supported and where the owner can expect clear floor space.
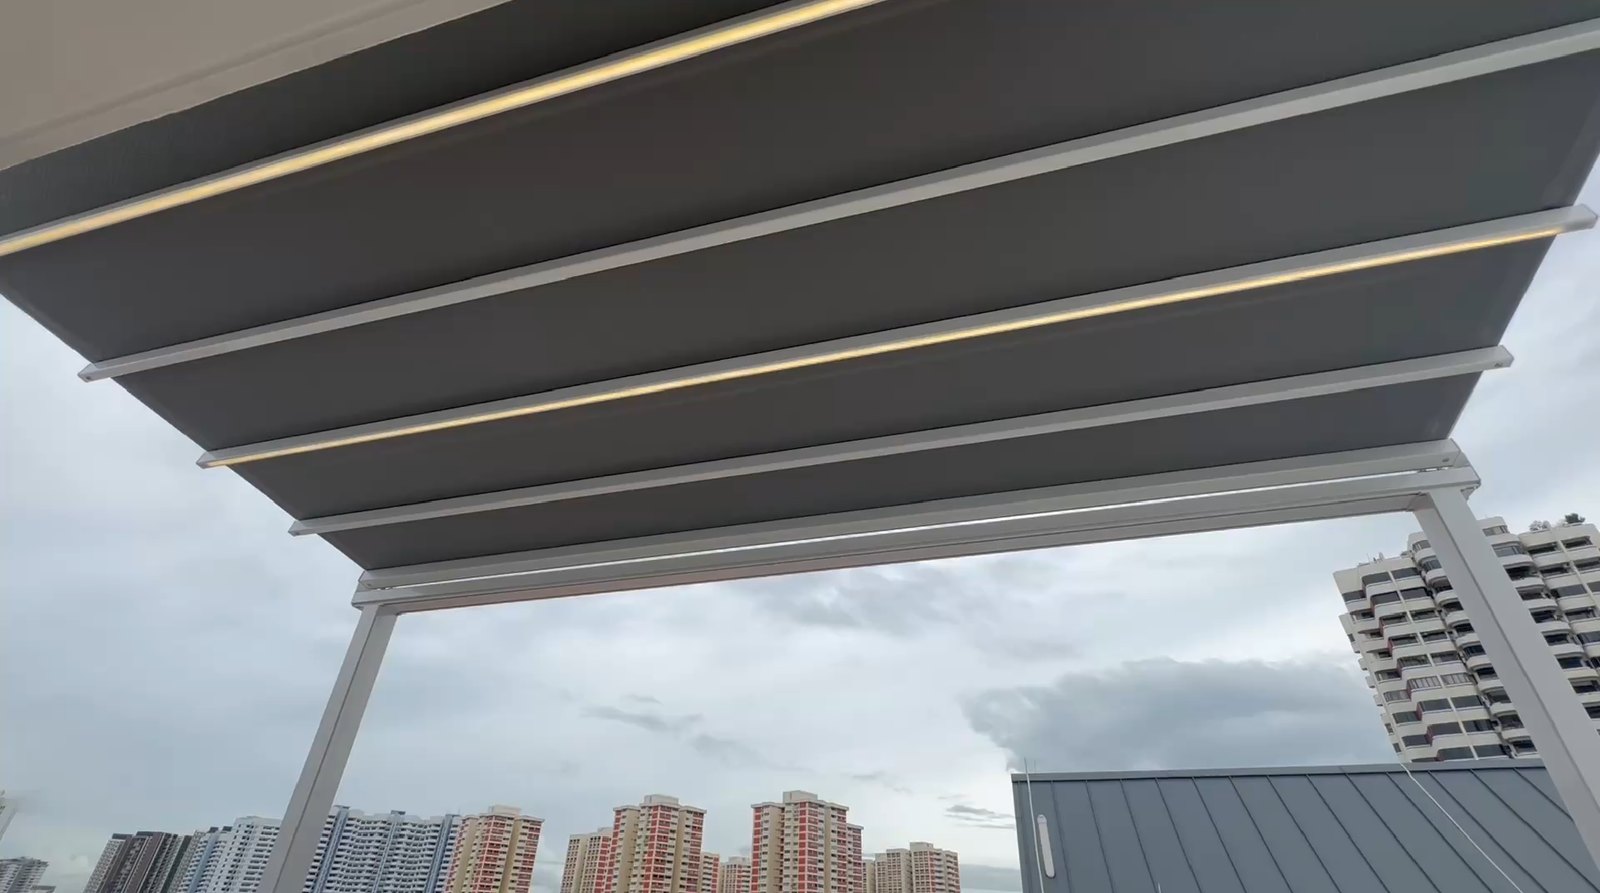
Choose the type of roof with a defined priority
If changing daylight is the priority, compare the open and closed states of the proposed system. If regular overhead shelter matters most, discuss drainage and the practical limits of weather protection. An outdoor space can still receive rain through open sides.
The bioclimatic pergola range and retractable pergola range provide two starting points. Ask the supplier to demonstrate the actual movement and visible roof area when each configuration is open.
Write down the preferred frame finish and compare a sample beside the facade. Consider how the roof looks from an upstairs window as well as from the patio below.
Resolve building junctions and drainage early
Where the new cover meets the house, ask how that junction will be detailed and maintained. Existing waterproofing, cladding and rainwater pipes may affect the work. These interfaces should appear in the installation discussion rather than being left to an assumption on the day.
Follow the proposed drainage path to its outlet. Check whether it leads to a suitable location and whether access remains available for cleaning. Nearby trees and roof runoff from above should be disclosed during the survey.
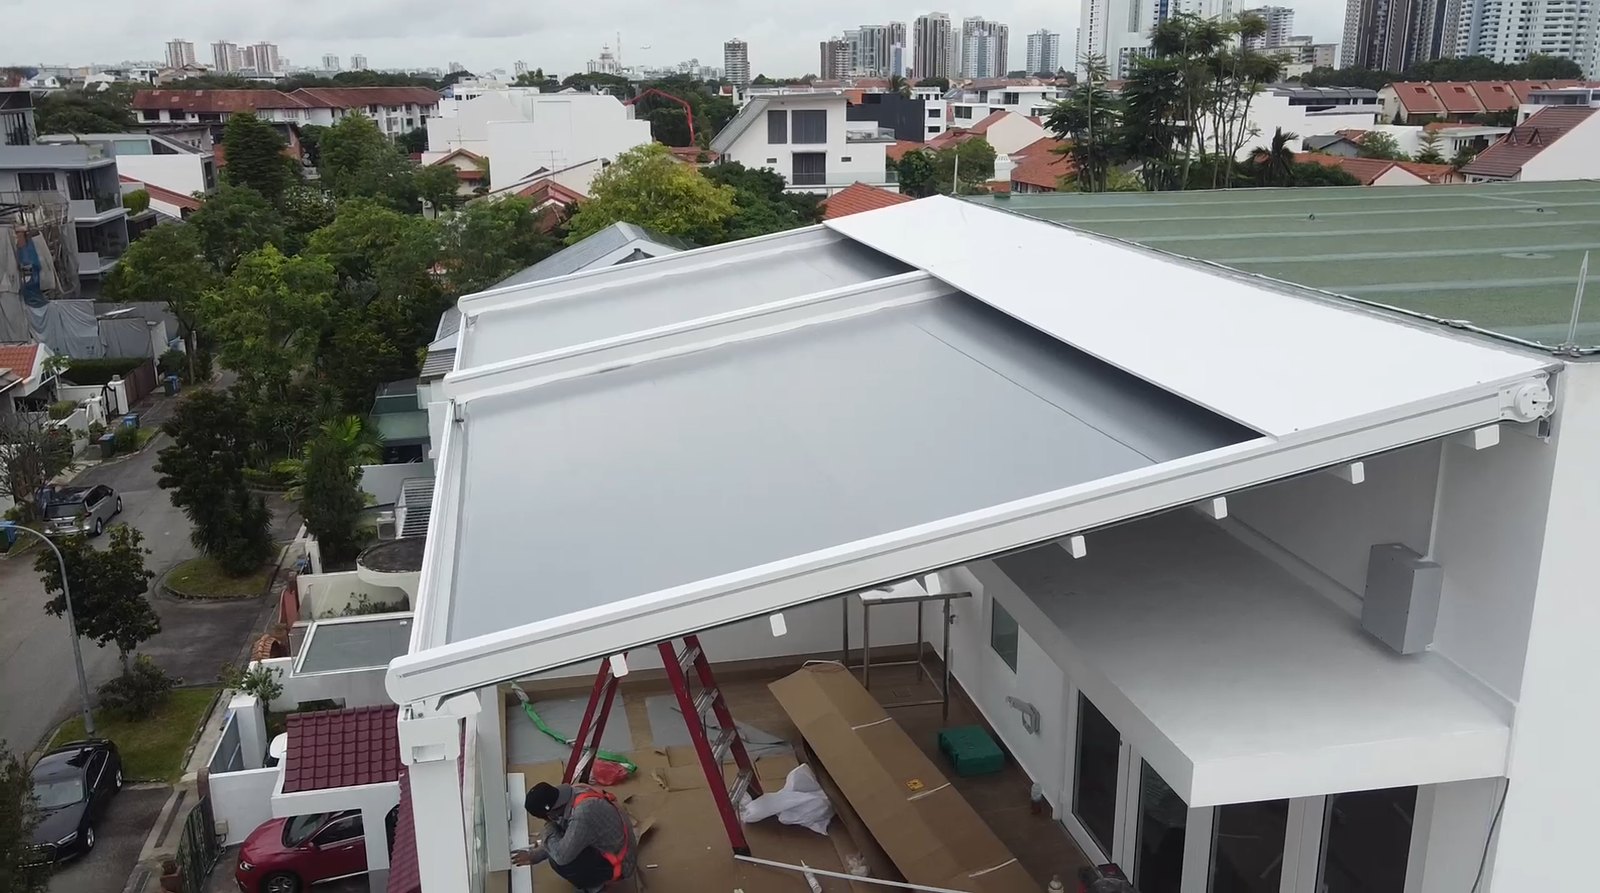
Clarify responsibilities for project checks
Ask which property-specific permissions, drawings or professional assessments need to be resolved before work. Identify who will obtain the necessary information and who will coordinate with the relevant parties. Keep written confirmations with the project documents; a general product description is not a substitute for site-specific review.
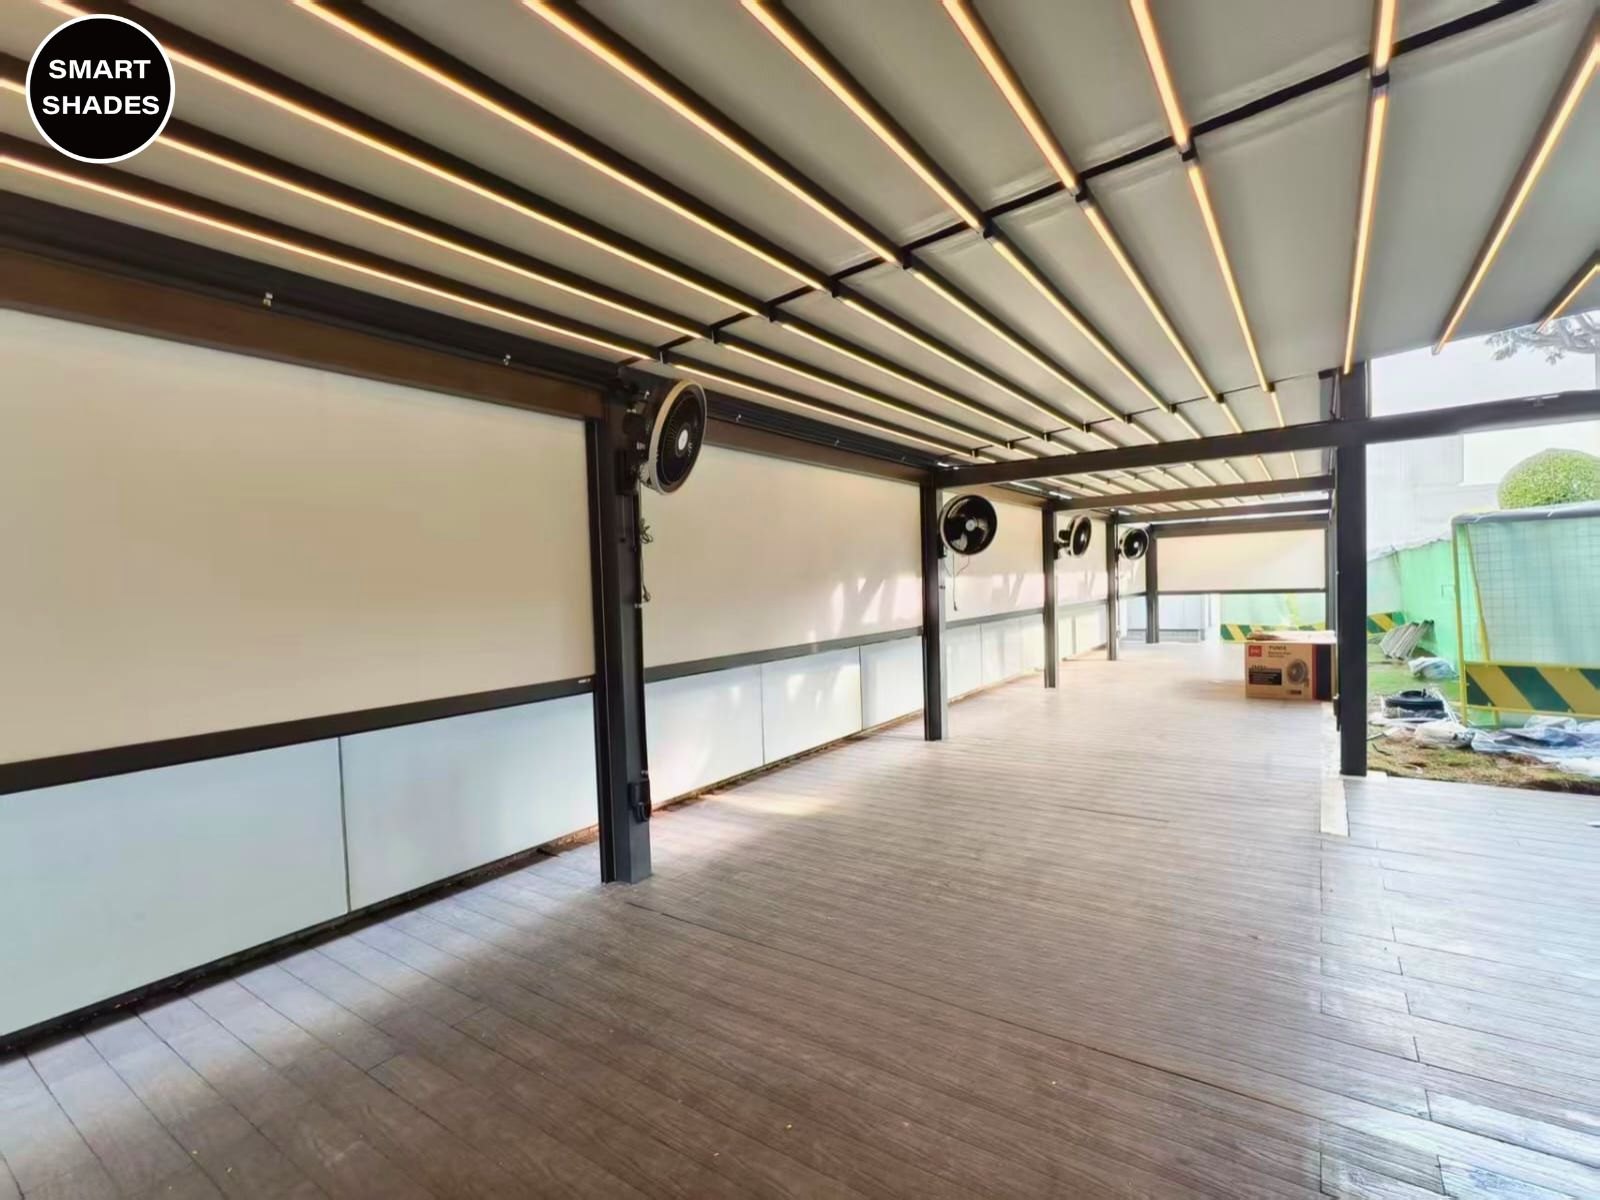
Coordinate power, lighting and optional screens
Motorised equipment and lighting need a planned electrical arrangement. Discuss the route and appearance of cables, the position of controls and access for servicing. Ask which electrical work is included and which must be arranged separately.
If side screens may be added later, raise that possibility now. They can affect clearances, visual proportions and future access. The initial design should account for the intended combination rather than relying on an assumption that any accessory can be attached afterwards.
Use a consistent quotation checklist
Send the same brief to anyone preparing a proposal. The comparison becomes more useful when the footprint, desired operation and finish are consistent. Record differences instead of treating every total as an offer for the same work.
Check that each proposal identifies:
- Roof type, model and selected finish.
- Overall dimensions and support positions.
- Wall connections and water discharge arrangements.
- Motor, controls, lighting and electrical scope.
- Access equipment, removal work and making good.
- Maintenance guidance, warranty terms and exclusions.
For a fixed-cover alternative, the trellis roofing page can help frame the comparison. Evaluate it against the same activity brief while recognising that it offers a different operating arrangement.
Plan the handover before installation day
Where several trades are involved, agree the order of work. Roof installation, electrical connections and floor or wall finishing may need coordination. Ask who is responsible for checking the dimensions before fabrication and who should be contacted if another contractor changes the site. Keeping one current drawing prevents different teams from working from conflicting versions of the plan.
Agree how the completed work will be demonstrated. For a moving roof, request operation through the normal travel, an explanation of weather procedures and a review of maintenance access. For any configuration, ask the installer to show the drainage route and relevant service points.
Keep the accepted drawing, final specification and contact details together. A good project brief remains useful after the pergola is installed: it gives everyone a clear record of what was intended, what was supplied and how the space should be cared for.