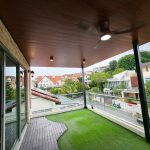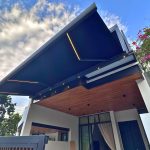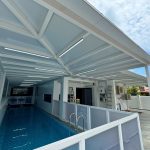


An aluminium ceiling panel can give the underside of a covered outdoor space a more finished appearance. The result depends on the panel layout, edge details and coordination with lighting or fans. Choosing a colour is only one part of the decision.
Before starting, distinguish the ceiling finish from the roof above it. The ceiling shapes what you see from below; the roof and its junctions need their own weatherproofing design. Planning both layers together avoids covering up problems that should be resolved first.
Where an aluminium ceiling panel fits the design
A car porch, covered balcony or sheltered terrace may have beams and services visible overhead. A coordinated ceiling treatment can organise that view and connect the outdoor area visually with the house. The available height and support arrangement influence what is practical.
Ask the installer to assess the existing underside before choosing a layout. Discuss any staining, leaks or areas that require access. A new finish should follow the assessment of the underlying roof and structure rather than conceal an unresolved condition.
Identify the panel system being proposed
Different profiles create different joint patterns and proportions. Request a sample of the actual profile and finish, then ask how the panels are supported and how edges will be completed. A flat photograph may not show the depth or shape of the chosen system.
Use panel direction to organise the space
The direction of the panels changes the way the ceiling is read. A long run may emphasise the length of a passage, while another orientation may align more naturally with the main facade. Compare options on a reflected ceiling plan before committing.
Mark doorways, beams, lights and fans on that plan. The aim is a coordinated arrangement rather than a pattern interrupted unexpectedly by equipment. Ask how the installer will handle corners and changes in width, especially in an irregular outdoor area.
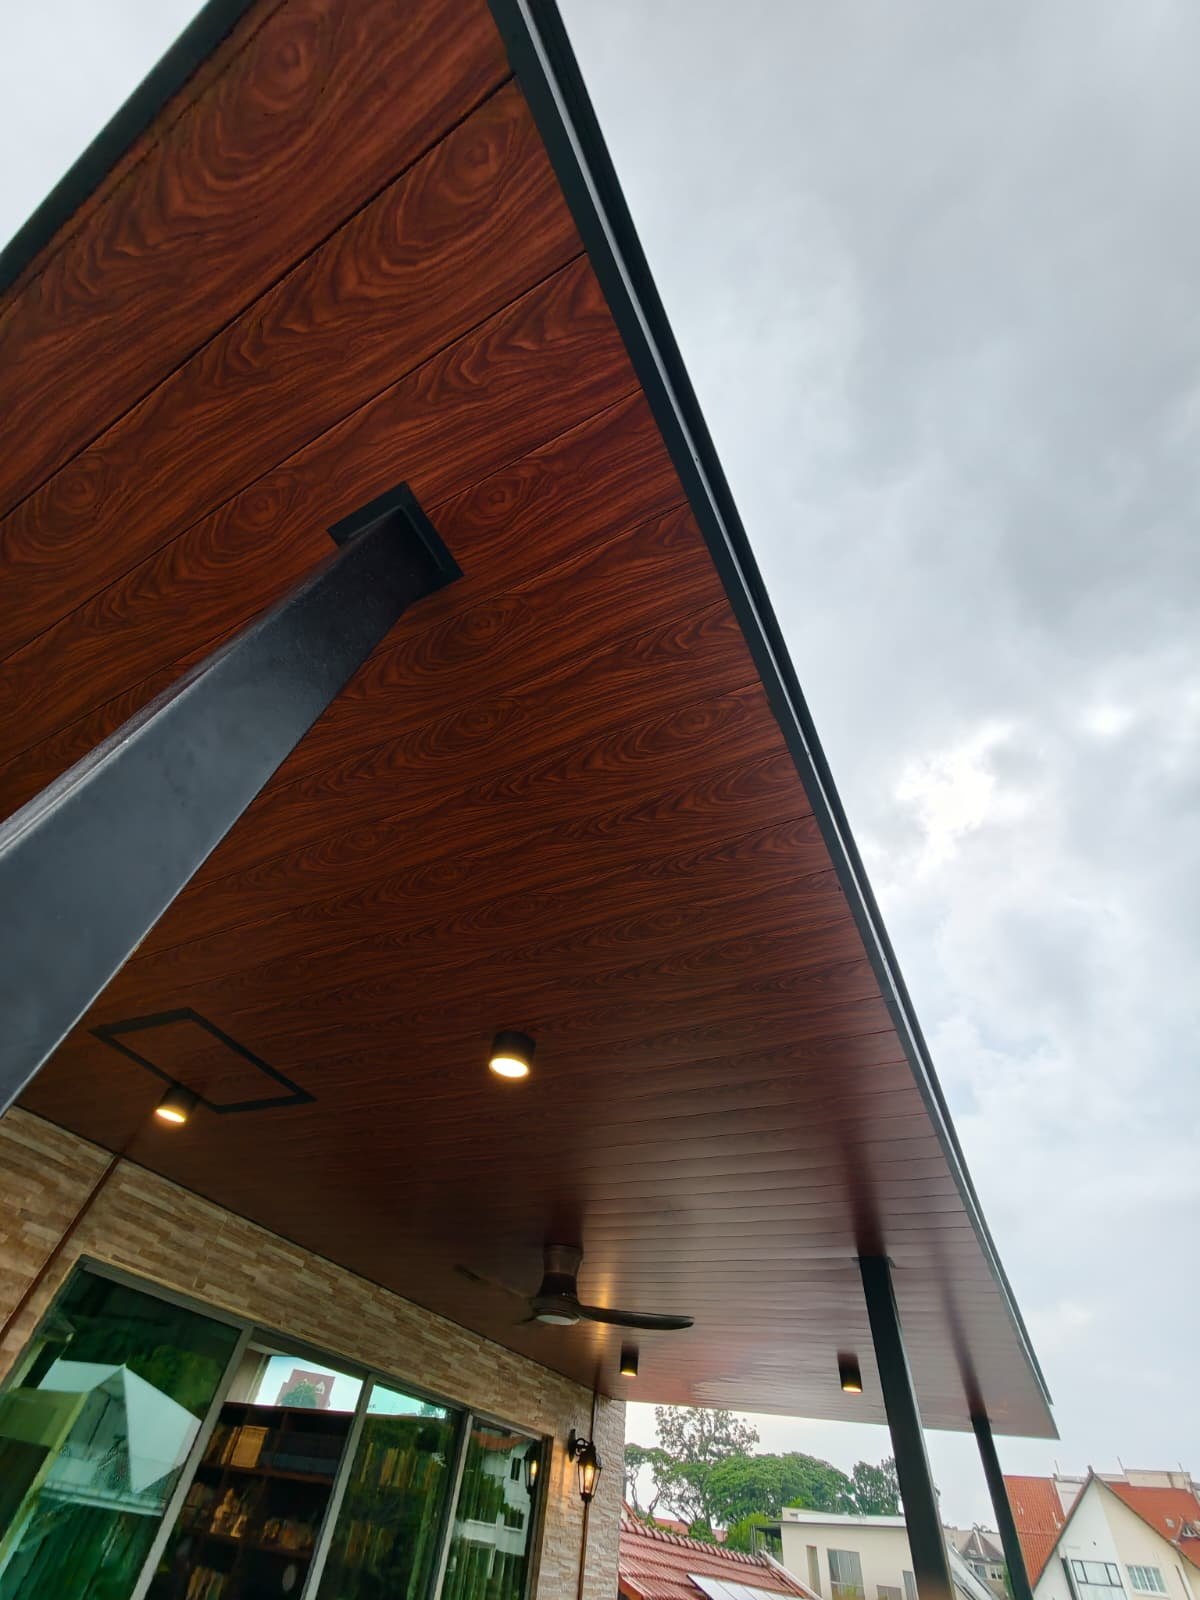
Discuss where joints and cut panels will appear. A balanced layout may require a deliberate starting position rather than simply beginning at one edge. These details are easier to resolve in the drawing than once panels have been cut.
Choose a finish against the actual surroundings
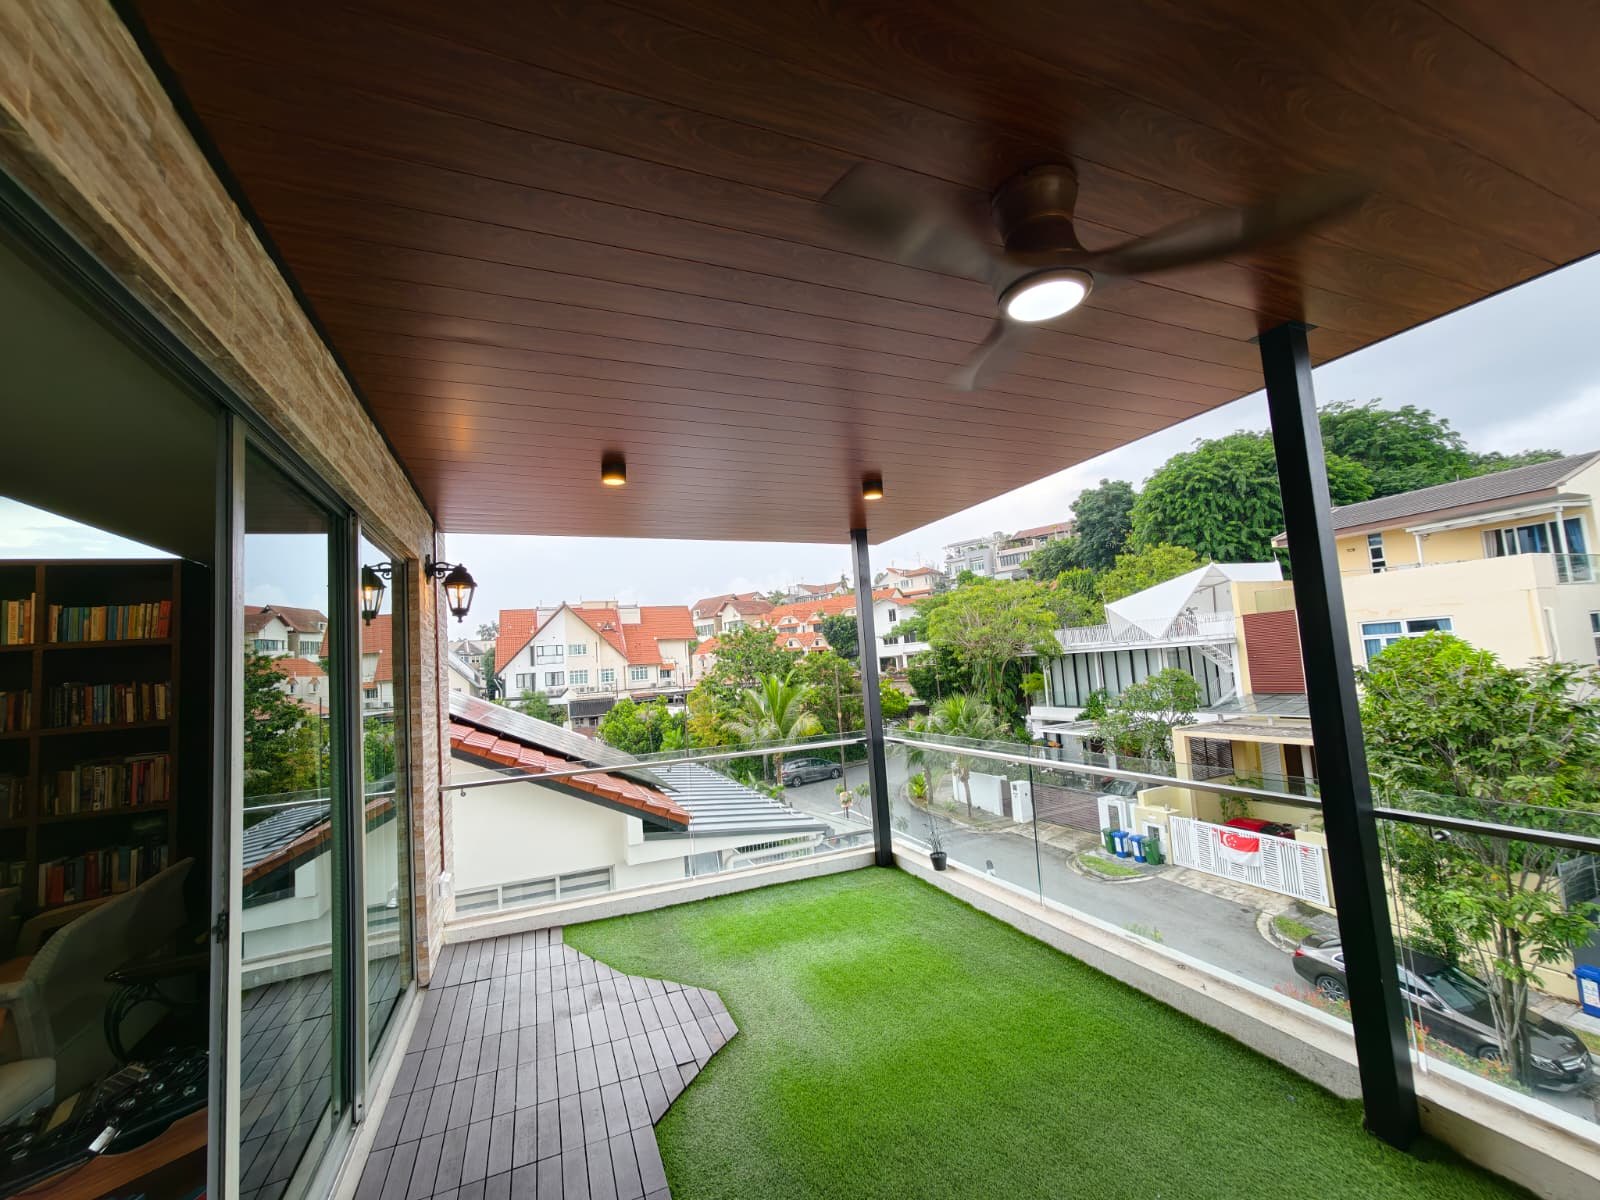
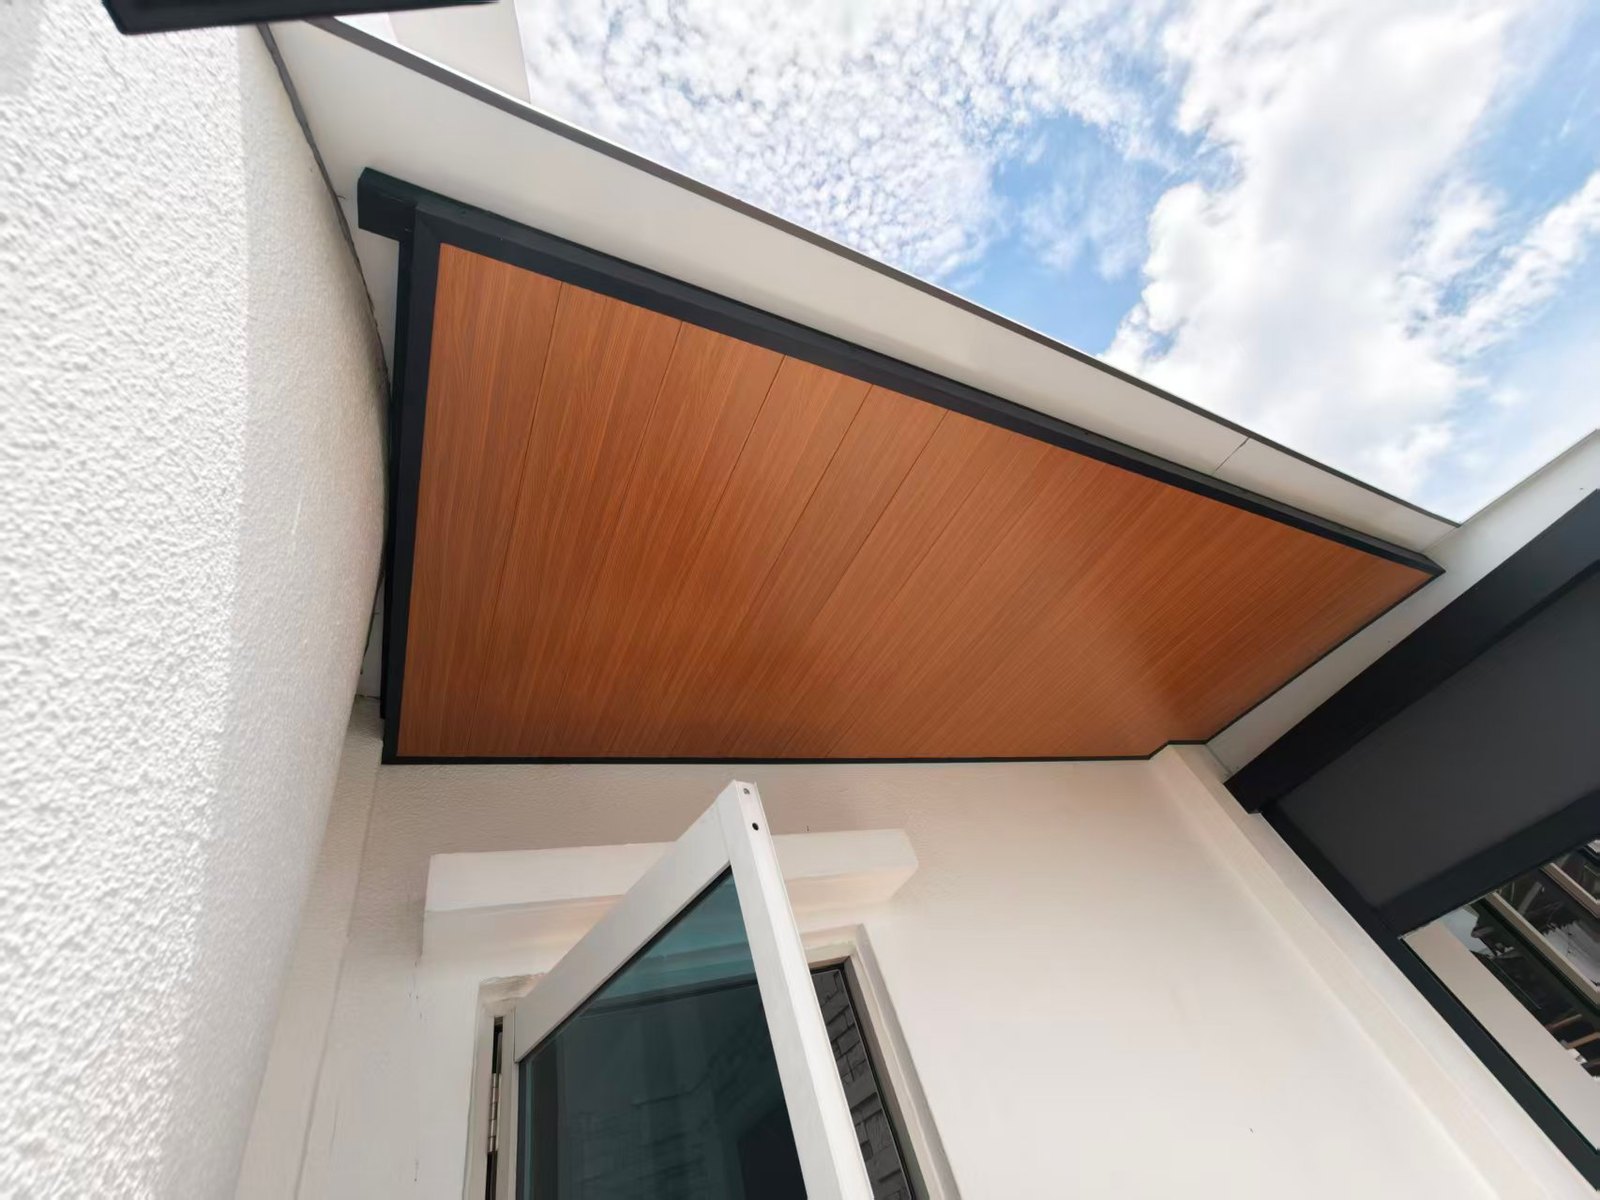
Timber-look finishes can introduce a warm visual element beneath a roof. Assess samples beside the wall, floor and window frames. Look at them in daylight and under the lighting you expect to use in the evening.
The Smart Shades timber-like aluminium ceiling page presents this type of finish and discusses customisation. Confirm the selected profile, colour and dimensions in the project specification rather than relying on a general product description.
Consider the whole view from below
Ceiling area can be visually substantial, particularly in a deep porch. A finish that looks attractive on a small sample may feel different across the full space. Use project photographs to discuss the overall effect while recognising that your lighting and surrounding colours will differ.
Coordinate lights, fans and service access
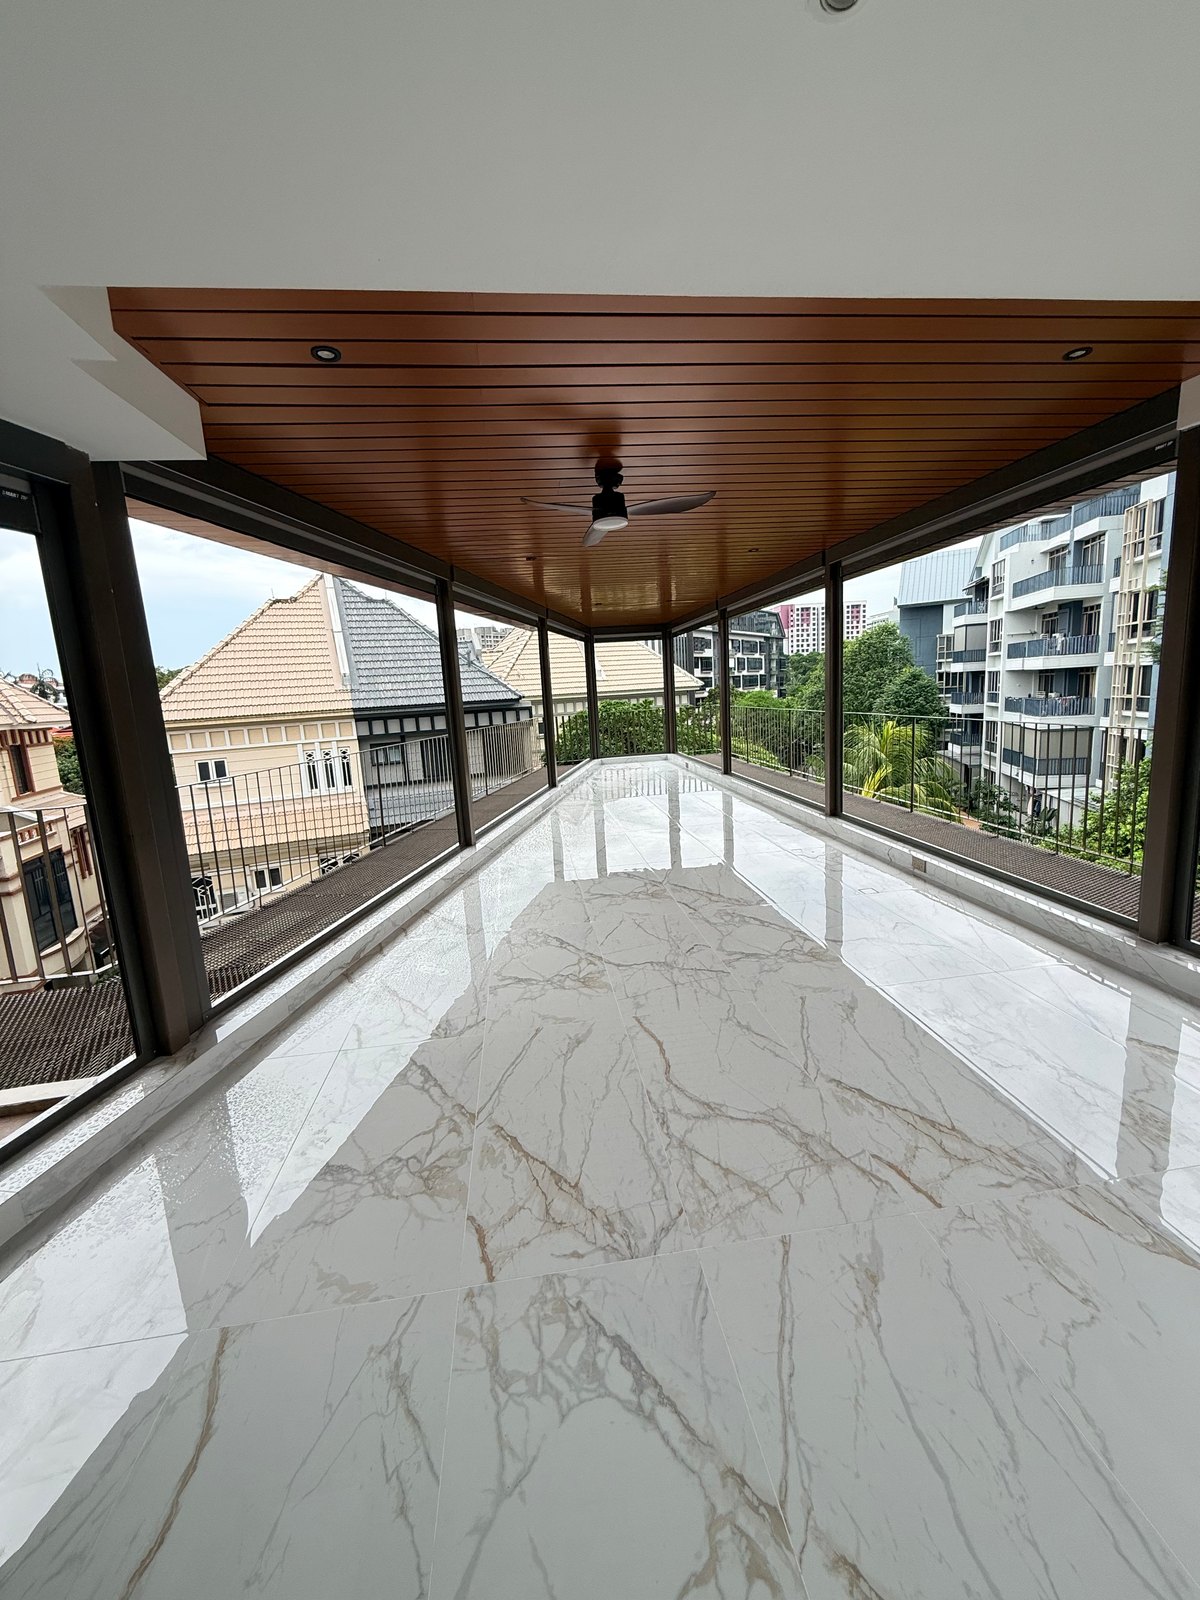
Plan electrical equipment before the ceiling layout is finalised. Agree the positions of lights and controls, and ask how relevant connections can be accessed later. Service access should be intentional, especially where equipment is concealed above the finish.
Fans and other fixtures need a suitable support arrangement. Do not assume a decorative panel is the fixing point for equipment. Ask the installer and electrical contractor to coordinate the relevant details and show them on the agreed layout.
Confirm who supplies and installs each item. A ceiling quotation may not include all fittings, wiring or modifications to existing services. Written responsibilities help prevent gaps between trades and unnecessary changes during installation.
Keep roof and ceiling responsibilities clear
If the overhead roof is also being replaced, discuss its drainage and weatherproofing separately from the underside finish. The trellis roofing range is one relevant comparison for a fixed roof arrangement.
A moving system such as a retractable pergola has different clearance and access needs. Do not assume a fixed ceiling treatment can be added to it without changing how the roof works. The complete design needs to be checked for compatibility.
Ask how the finish will be maintained
Request cleaning guidance for the selected coating and panel profile. Check which surfaces are accessible from a safe position and how occasional service work can be arranged. Outdoor dust and debris still need attention even when a finish is described as low maintenance.
Keep a record of the colour and profile for future reference. If a panel or fitting later requires replacement, those details help identify what was originally installed. Ask about the replacement approach before choosing a system with concealed attachments.
Review the drawing and quotation together
When extending an existing ceiling, compare the older finish with a current sample before assuming they will match. Age, cleaning and lighting can change the apparent colour. Discuss the transition between old and new work, including where the joint will fall and whether a deliberate border would create a more consistent result than an attempted invisible extension.
Your final review should cover:
- Panel profile, finish reference and layout direction.
- Perimeter trims, corners and visible joints.
- Finished ceiling height and support arrangement.
- Lighting, fans and electrical responsibilities.
- Access to concealed equipment and roof details.
- Removal work, cleaning guidance and warranty terms.
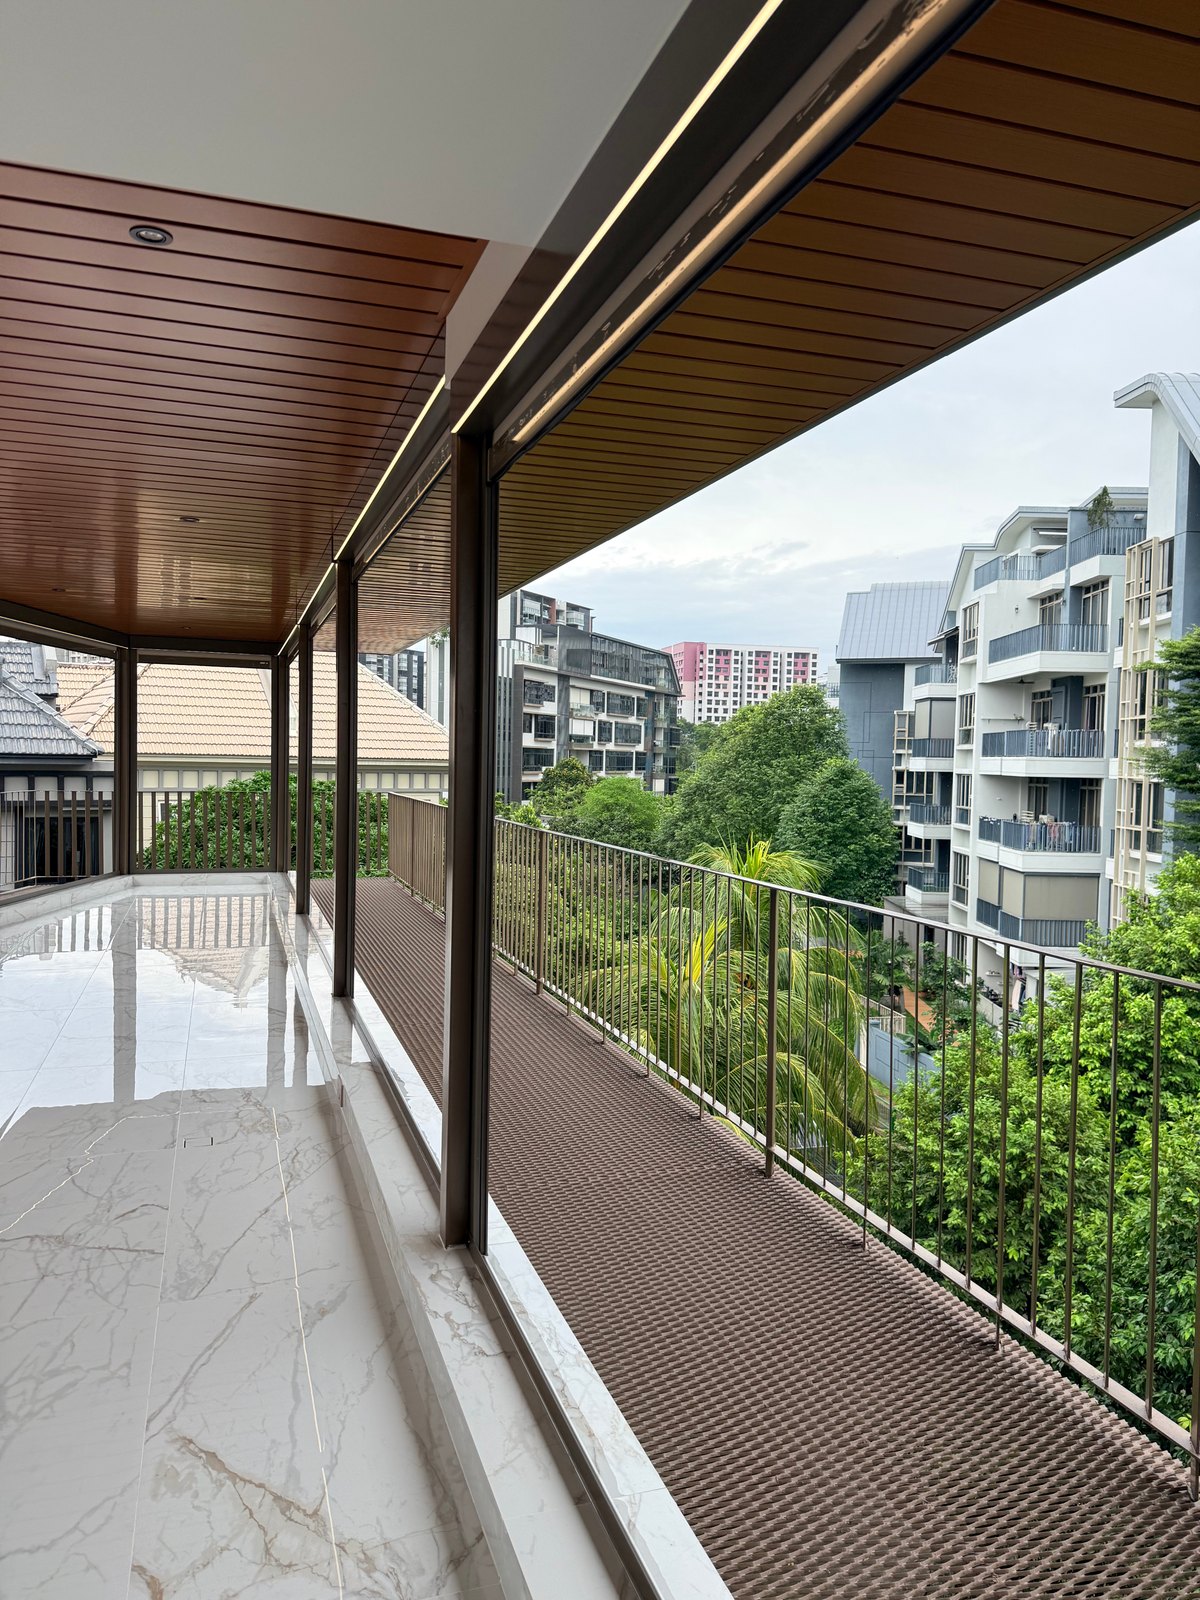
At handover, inspect the ceiling in daylight and with its lights on. Review edge details and ask for the service-access method to be demonstrated. A coordinated aluminium ceiling panel installation brings together appearance, practical access and the roof above, creating a finished space that remains straightforward to maintain.